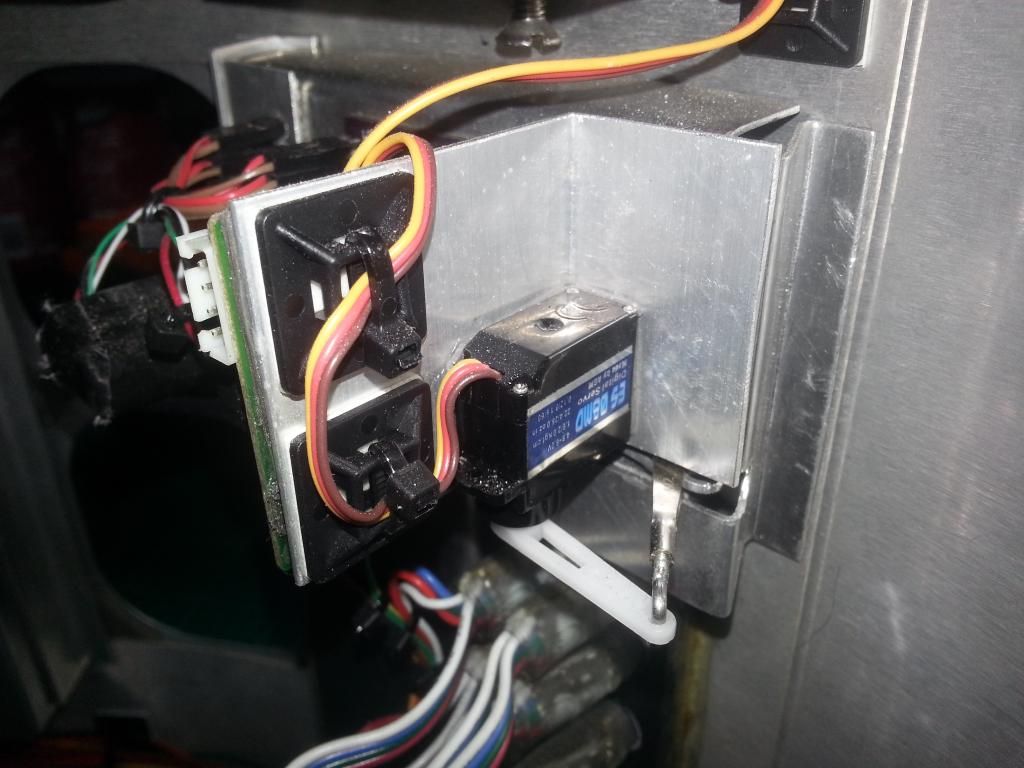
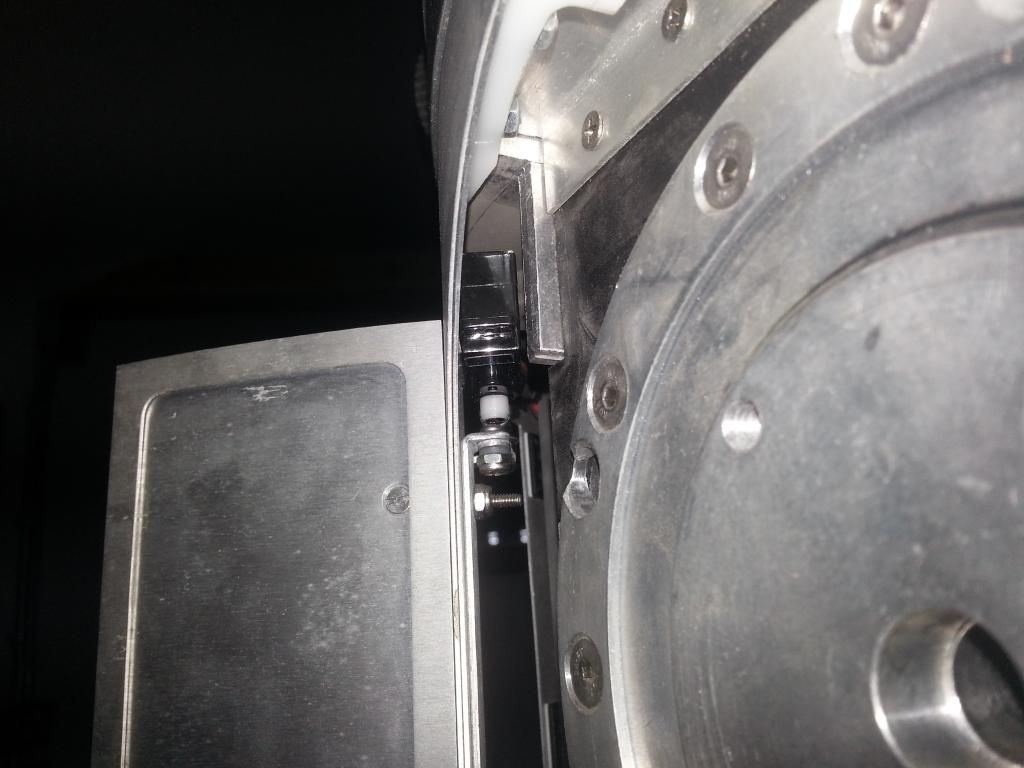
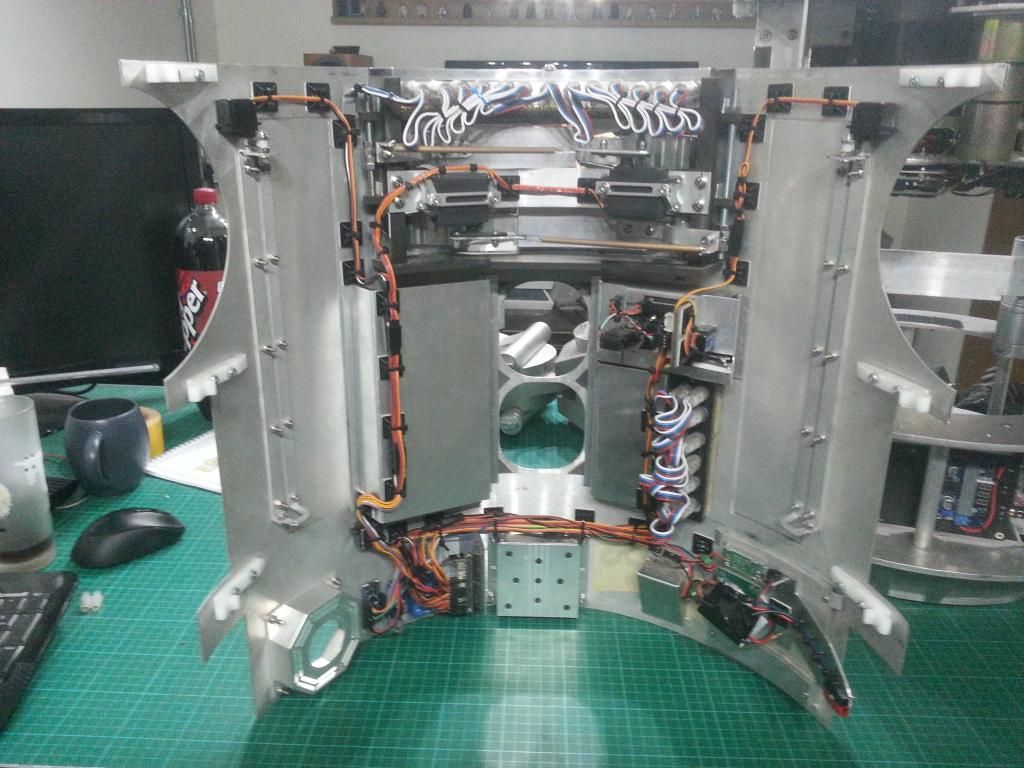
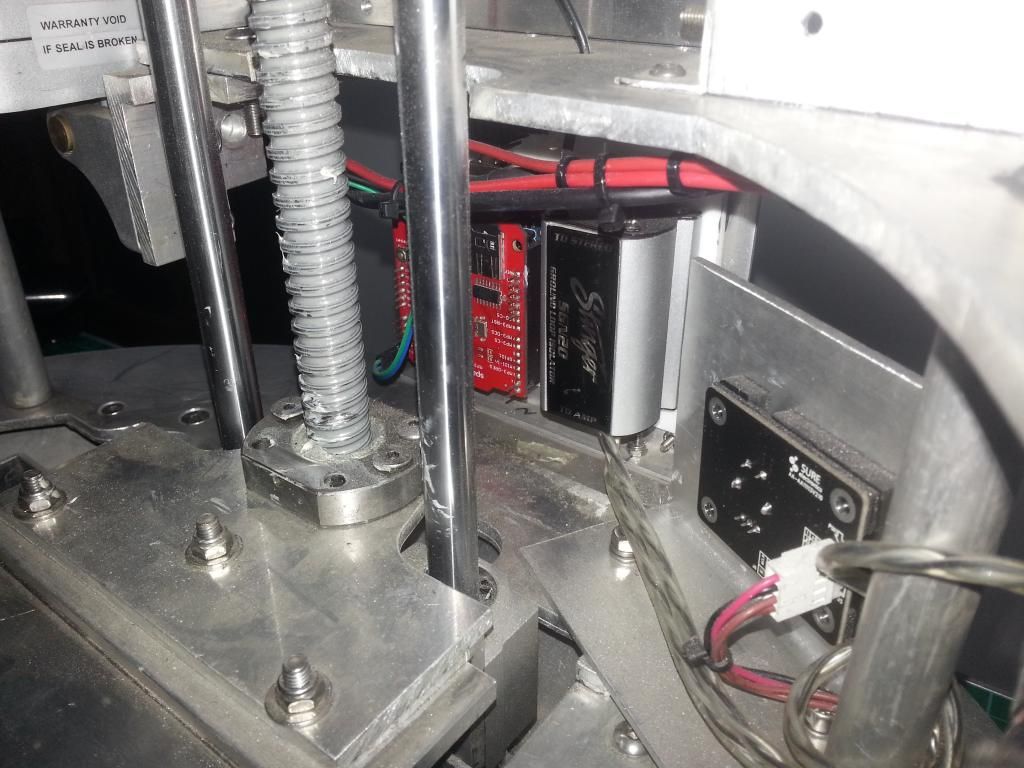
When the base was done, i offered up the skins to the frame and found that i would need to cut a lot of the frame to fit it. So after a bit of a ponder i decided to move the long door servos to the top of the hinges so that the frame wouldn't need as much adjustment.
If i were starting fresh, i think that with the right arm carrier one could fit all 5 servos to the skins, with the long doors and the big door and CBI servos above the doors, and only the small door below, then the frame would only need one cut out and would be a really neat setup.
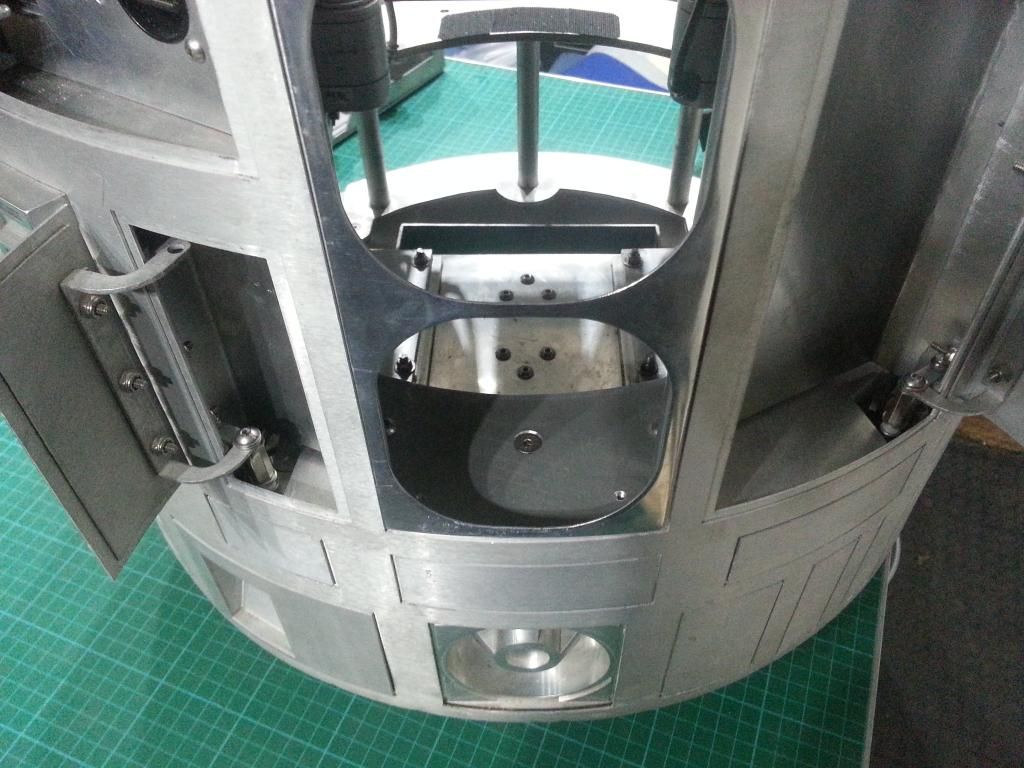
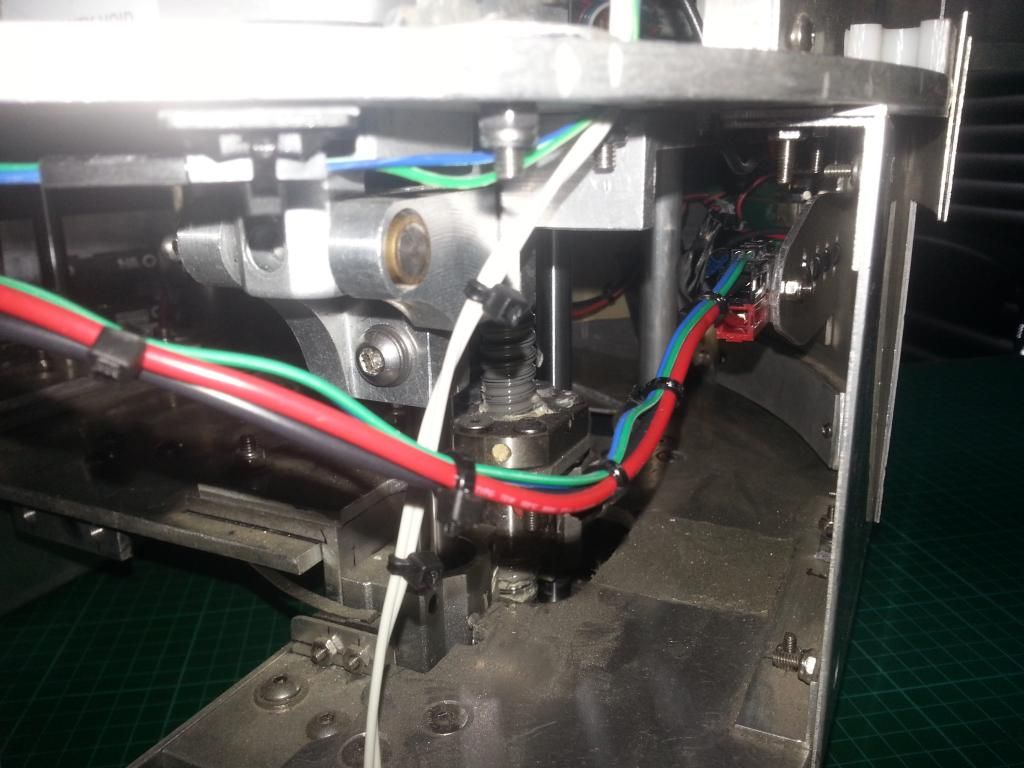
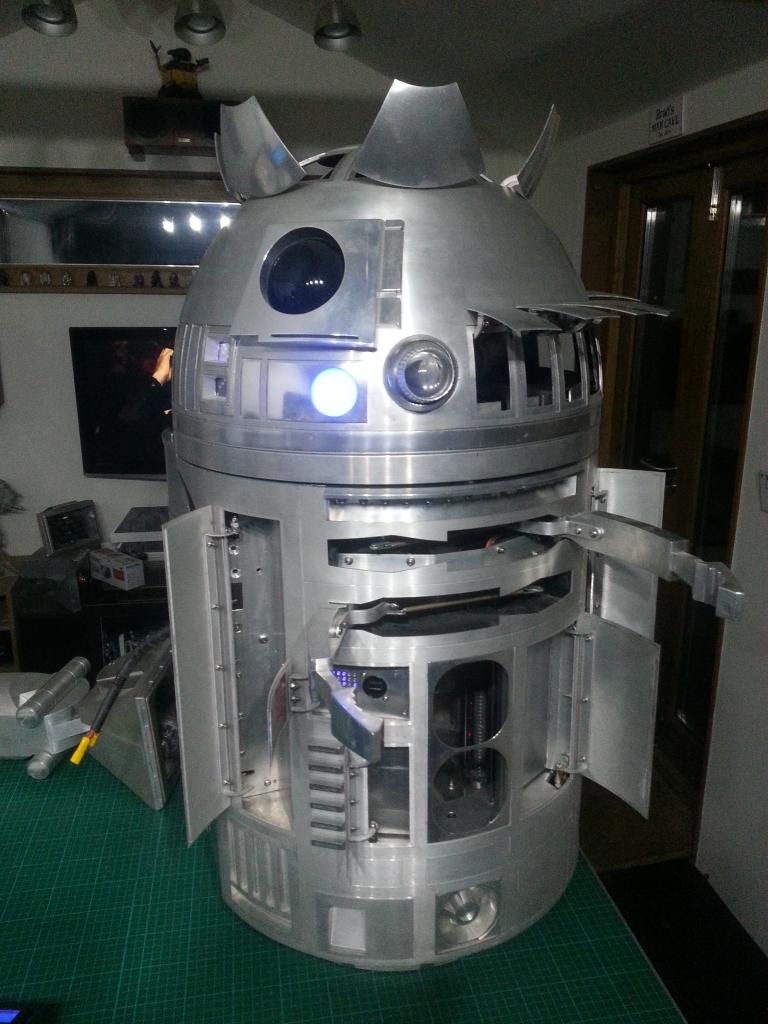
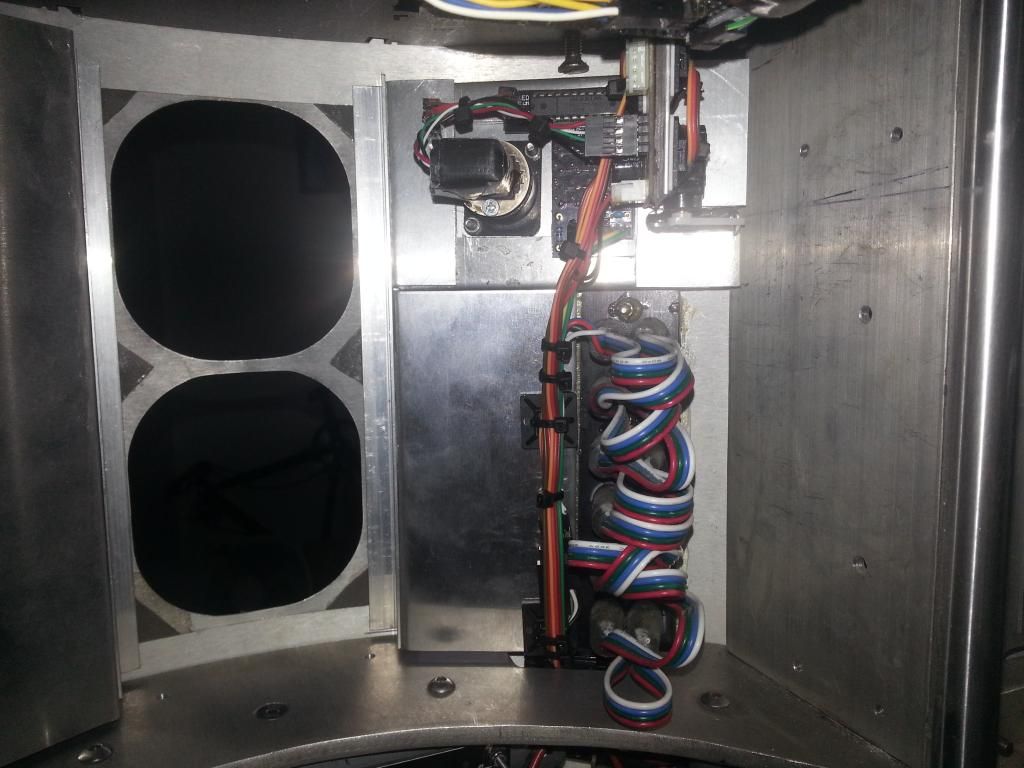
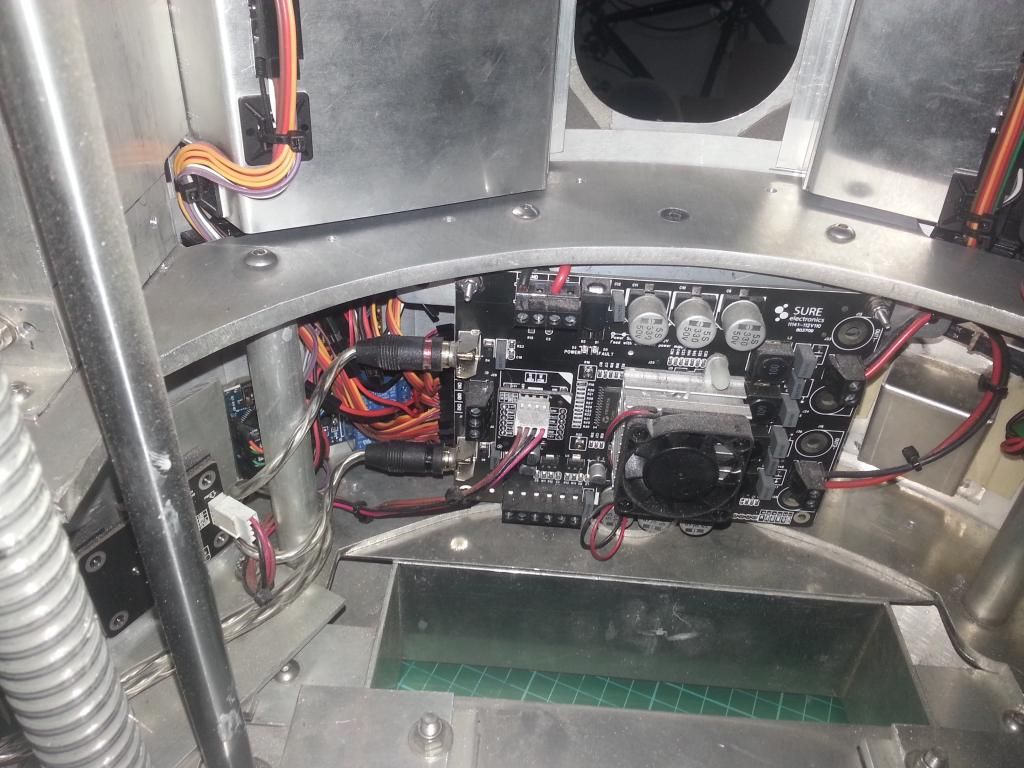
So with the body rewired again i marked and cut the frame to accommodate the other servos, and the front skins were again able to be fitted. I also cut access to the master Arduino port. :)
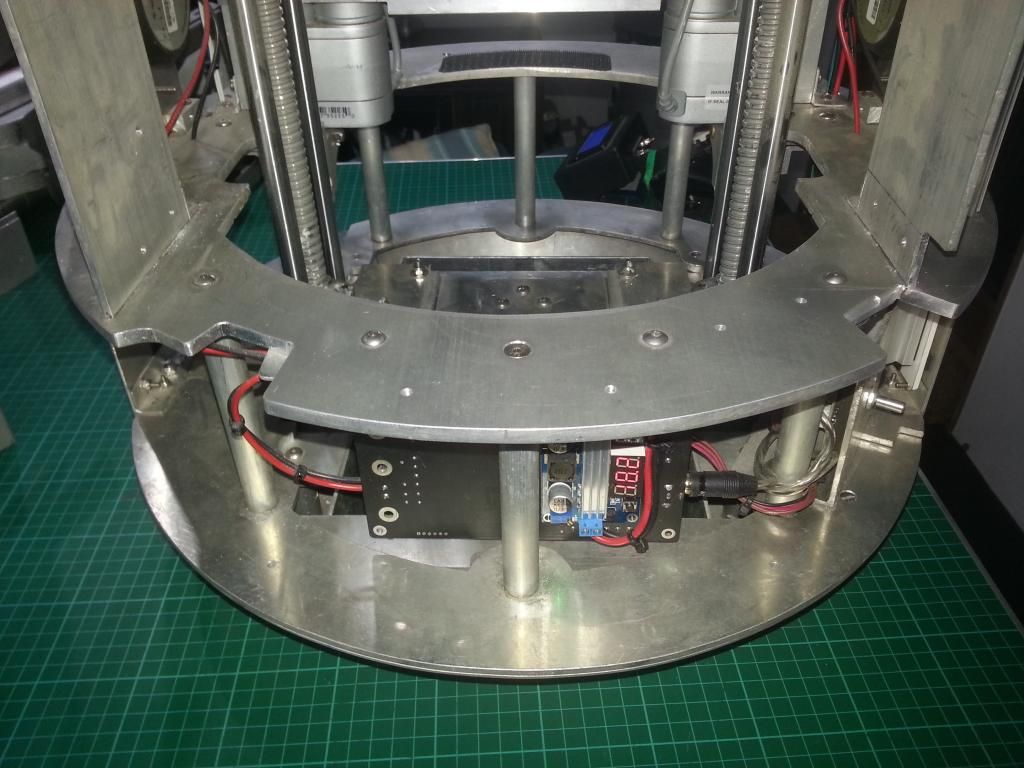
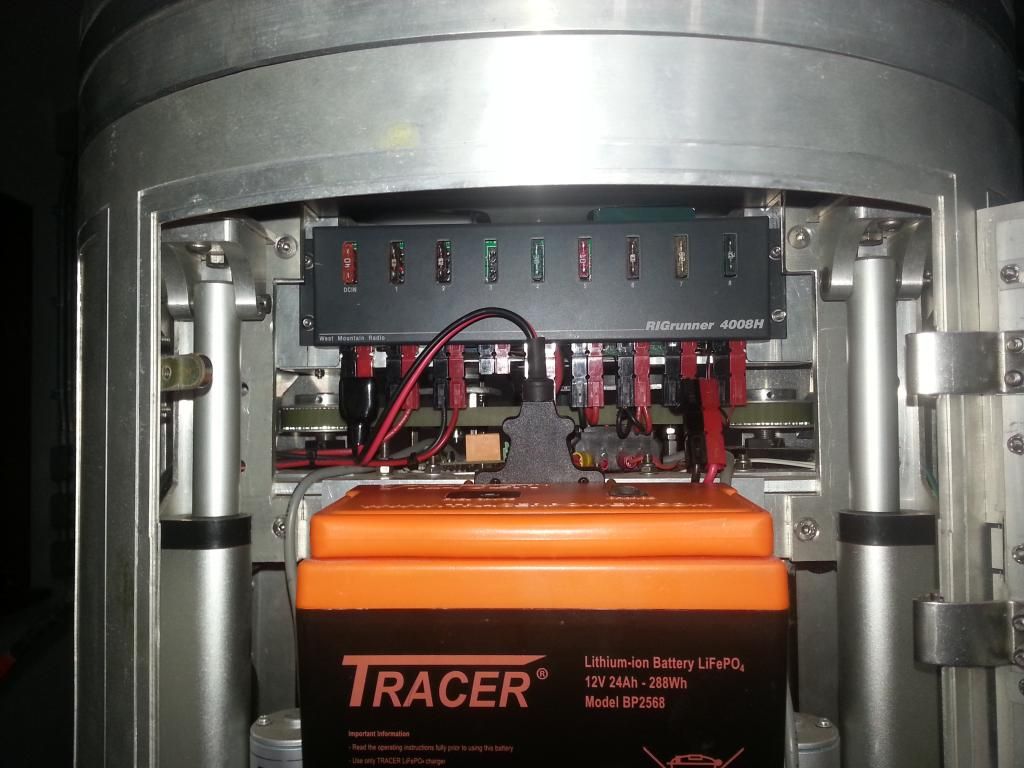
While testing the servos i tried the servos on 6v, and they are SO much nicer, more solid, quieter and faster. So i looked about and found myself a 15A variable buck stepdown, i will run the body servos at 6v. I have disabled the arms for now, and have finished the rest, but will redo the servo supply when it arrives.
But mid Sunday i wasn't feeling well so decided to stop for a bit. 3 days later i was still in bed and couldn't face R2, so i decided to wait for the weekend.
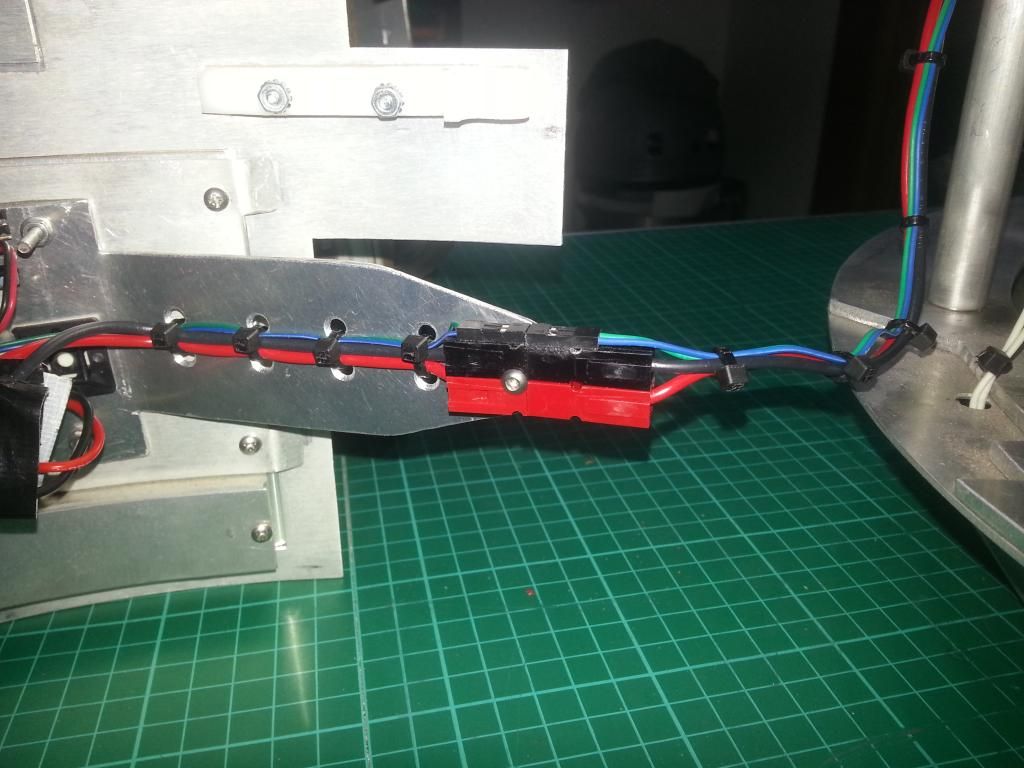
When the weekend arrived, i recoded the body code to added the changes to the layout and add servo positions, and started testing. A couple of wiring issues later i had the door servos, CBI, Vegas kit and charge port working well.
The body unit still needs a little TLC, but i ran out of cable ties, and i need that stepdown, so i will finish that off when i can complete it.
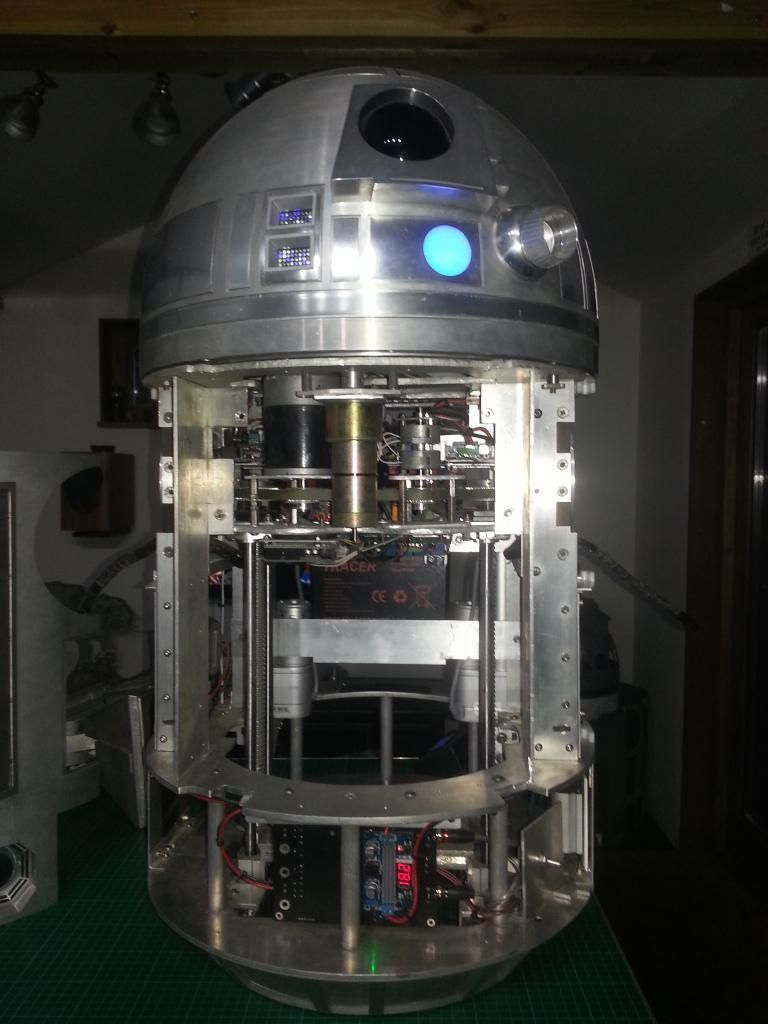
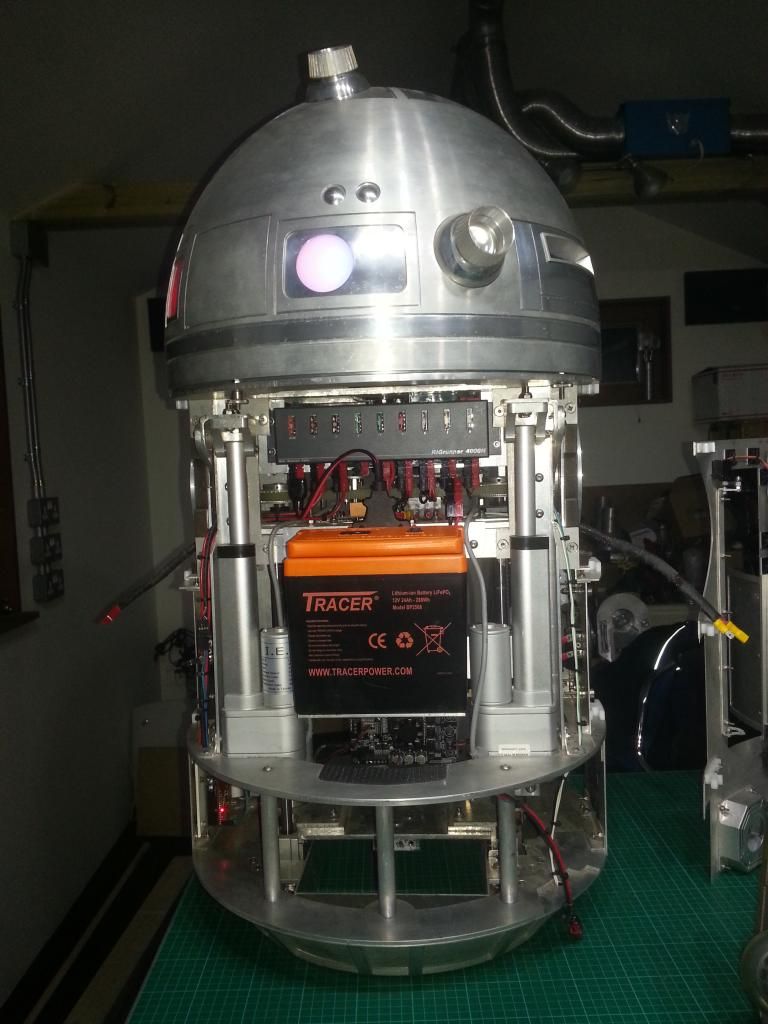
The frame looks so empty! Really pleased with progress. The droid is now much easier to run, with the dome and body being standalone testable units. Id like to make the master unit removable, and improve MP3 and 2-3-2 disconnects from that, but that can wait for now.
While doing all this, it has made me think about the Vegas kit, it is a great effect, but the cheap kits arent great, the wiring and voulme used is rubbish. So ive been looking about, i can fit 33 Neopixels in the LDP and redo the Coinslots too, all to be low profile and neat and tidy. Just the cost and removing the glue from my current setup. :( Will save that for next year, and when i do droid 2 i will redo both kits.
But it has left me thinking. All 3 legs could be better and easier to remove. I am going to do a similar thing to Flipside and add a quick release to the Centre leg, that can be a Christmas job. But im having trouble thinking of a suitable method for the outer leg release, they need to be so solid. :( But i do have a plan to do away with the need to strip as much of the leg and allow the wires to connect automatically, so maybe better but not perfect.
I now have room for all the dome and body gadgets, and space for my docking screen. It is a great step forward and will make future mods a lot easier.

It was really an interesting blog. I am very much interested to read about technologies and I think am at right place. Here I go a lot of posts which is written in a well manner and holds a quality content in it. Thank you so much for your blog. I have learned many things from your blog. Keep sharing.
ReplyDelete