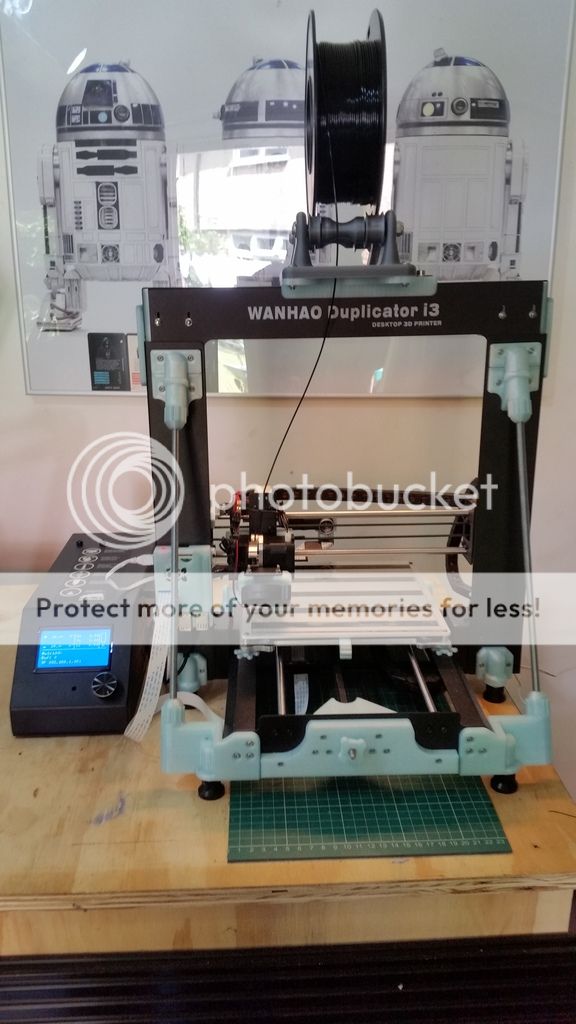
I've been wanting to get into 3D printing for some time. But all the machines I liked were silly money. Some of the other UK R2 builders had bought the £300 Wanhao i3, most but not all were positive reviews, all had niggles, but when James got one and printed me a few parts, I knew i had to take the plunge.
I've had it a few weeks now, so I thought I'd share my almost finished machine. :)
After some research, I found there were lots of easy upgrades for the i3. Printer arrived and James had printed me a cooling fan duct, and a Z brace. So we added all the upgrades we had and started printing some other upgrades i had bookmarked on Thingiverse.
I ended up trying quite a few parts in the end. But these were those that have made the final machine. :)
Wanhao Duplicator I3
Colin's amazing 6mm ali bed: http://www.ebay.co.uk/itm/Wanhao-i3-Y-Axis-transit-plate-upgrade-6mm-aluminium-/142371404002?hash=item2125ff38e2%3Ag%3AaCYAAOSwT-FZCh0c
Glass bed bought with the printer.
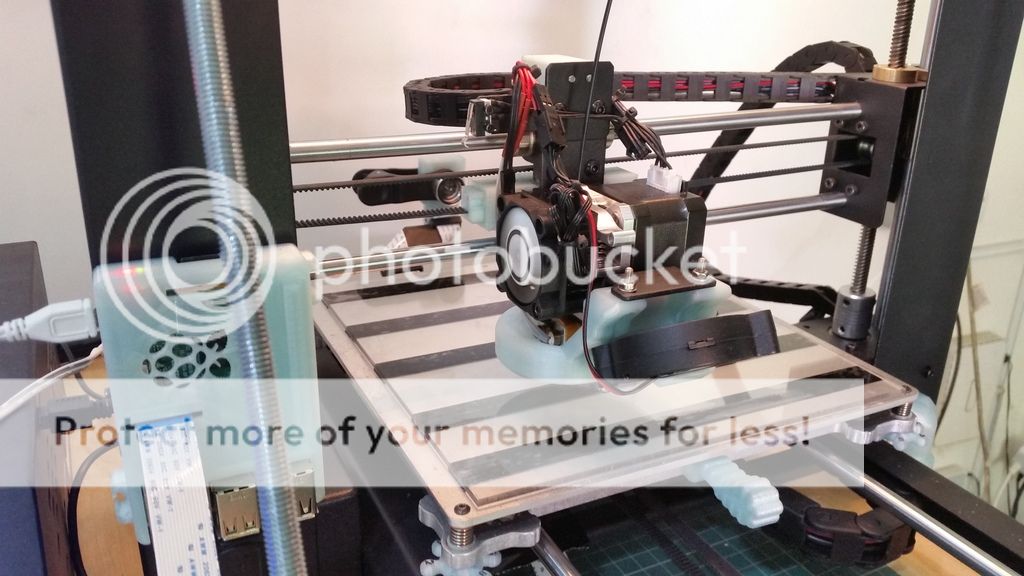
MicroSwiss Hot end, plus extruder arm and plate.
Flexible Z couplers: http://www.ebay.co.uk/itm/131868120953
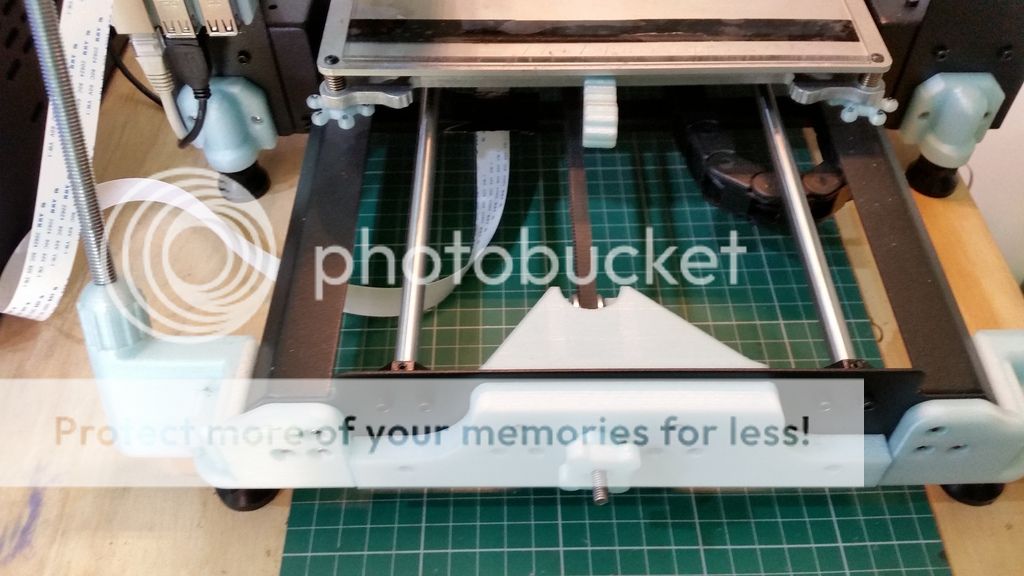
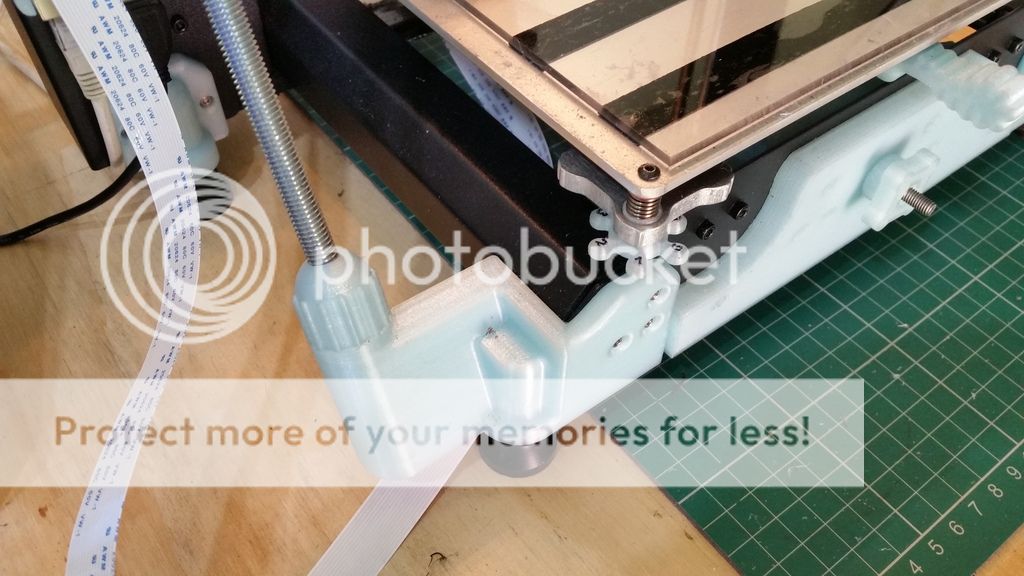
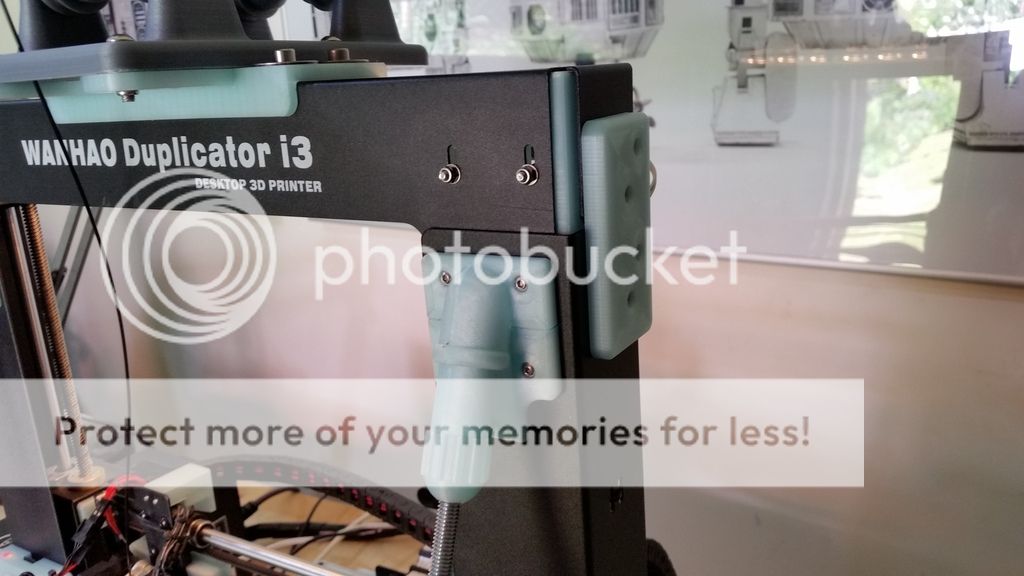
6 feet and Z brace (i used M6 adjustable feet and printed nuts to fit the cavities) http://www.thingiverse.com/thing:1549403
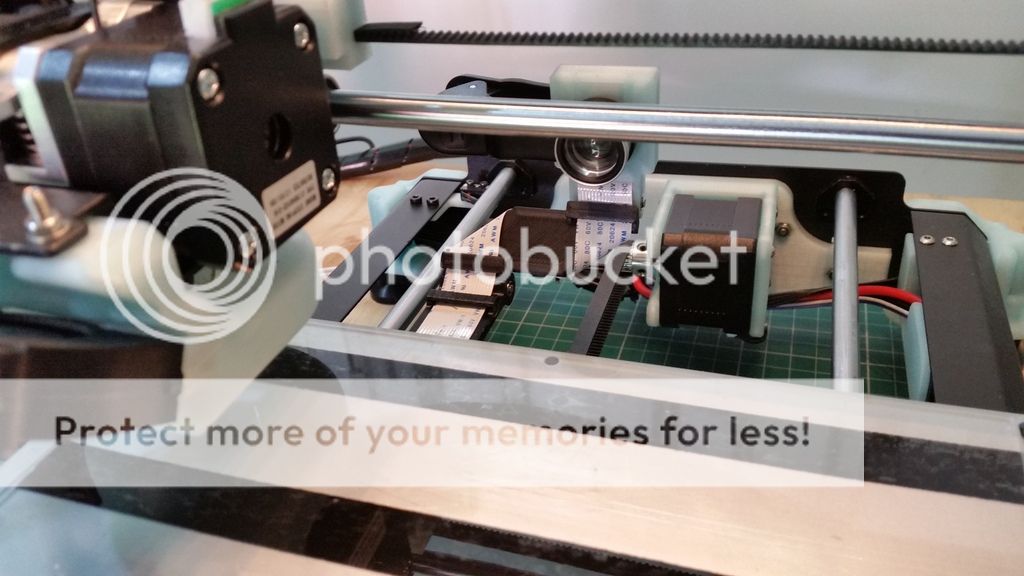
45mm long beaings x4 for the Y axis: http://www.ebay.co.uk/itm/162209015844
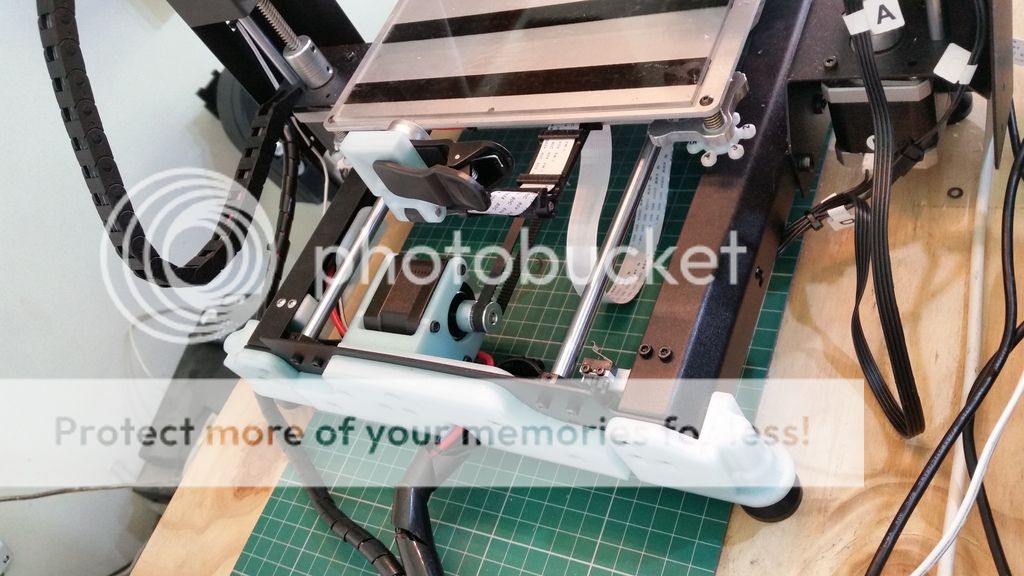
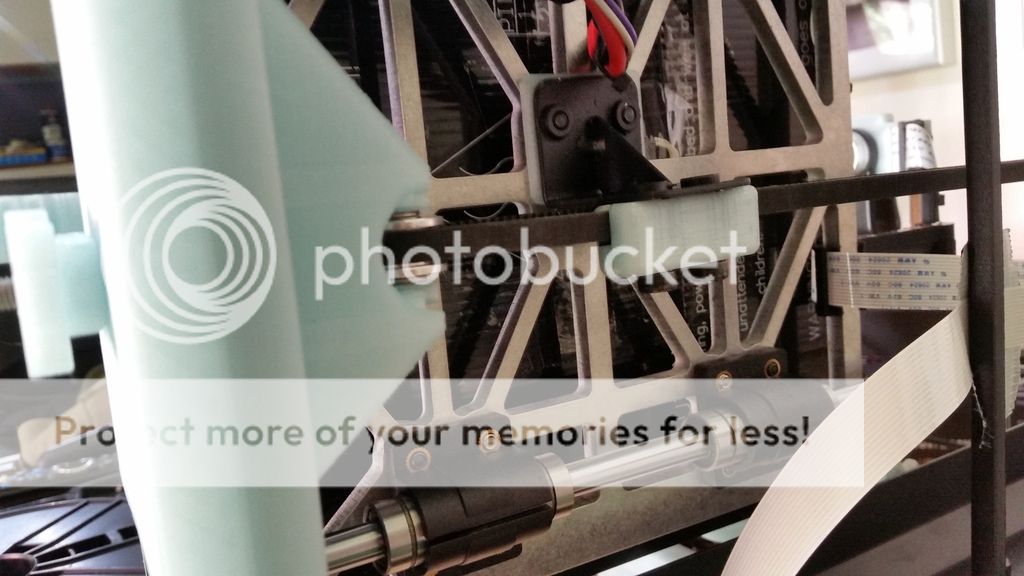
Y axis adjustable belt tension and end plate: http://www.thingiverse.com/thing:2068372
Y stepper mount and end plate: http://www.thingiverse.com/thing:2135538
With my own Y stepper bracket for better cooling and rigidity: https://drive.google.com/file/d/0B5B8A65frsBgSXA2Q0hDZUdtZkE/view?usp=sharing
Y axis belt clip: http://www.thingiverse.com/thing:2004673
Plus a 2mm spacer below the bed to align the belt.
Y axis end stop mount: http://www.thingiverse.com/thing:1468794
Y drag chain, 10x10mm: http://www.ebay.co.uk/itm/152401034854
Y drag chain mounts for Colin's bed (I also extended the bed wiring): https://drive.google.com/file/d/0B5B8A65frsBgOFExbTVGWnBSQ3M/view?usp=sharing
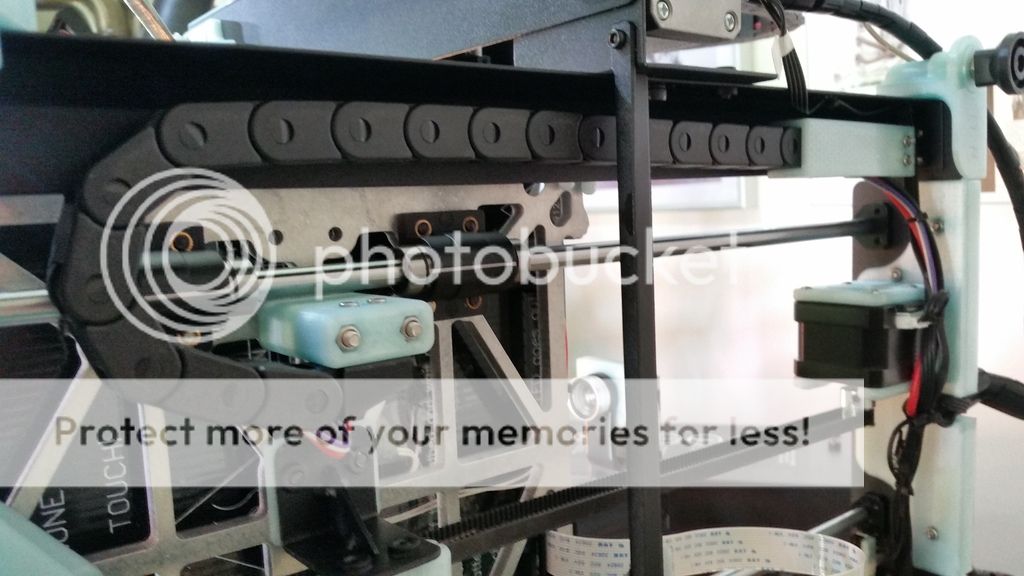
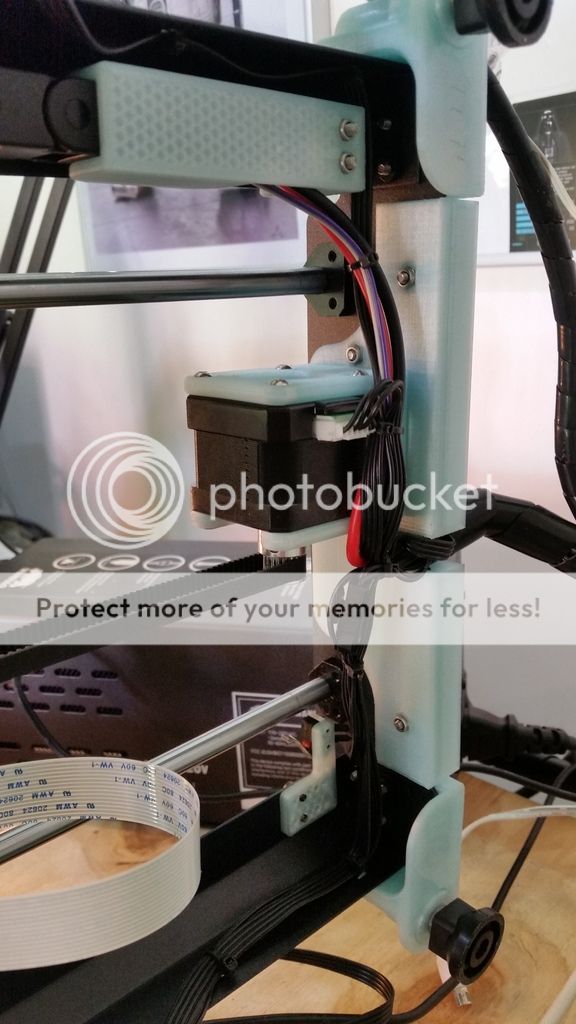
X carriage wire management (i cut this bit to fit):
http://www.thingiverse.com/thing:1986303
X axis belt tensioner http://www.thingiverse.com/thing:1820493
Spacer for x end stop
Diii Cooler 30mm (i also made a 1.6mm spacer to get it sat right) http://www.thingiverse.com/thing:1025471
Upgraded 50mm fan on blower: http://www.ebay.co.uk/itm/161834906059
Upgraded 40mm fan on cooler: http://www.ebay.co.uk/itm/161181515239
4 spring cups http://www.thingiverse.com/thing:2018503
4 thumb-wheels for bed levelling http://www.thingiverse.com/thing:2270846
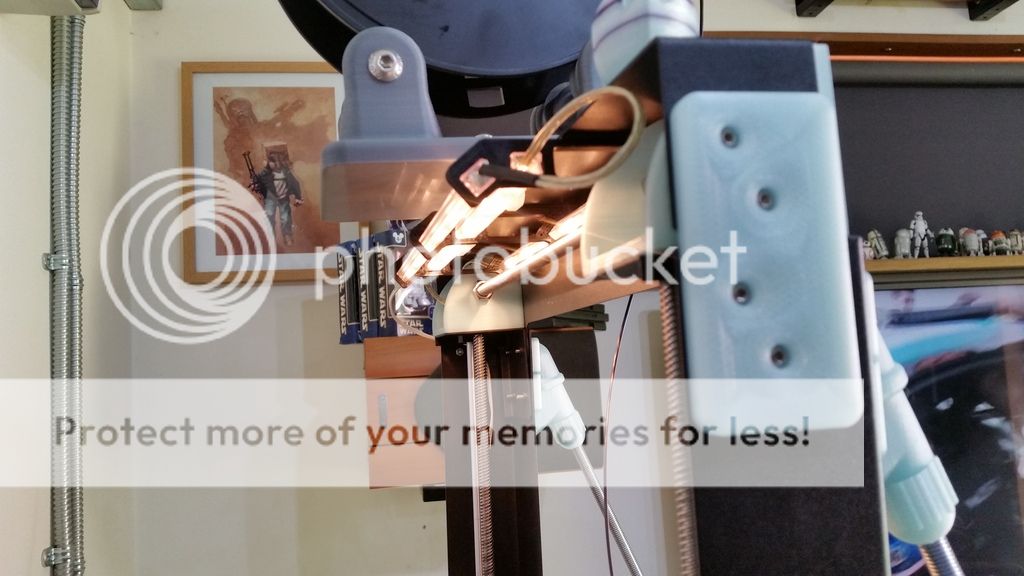
Z extension end Plates: https://www.thingiverse.com/thing:1444979
Z extension braces: https://www.thingiverse.com/thing:1829815
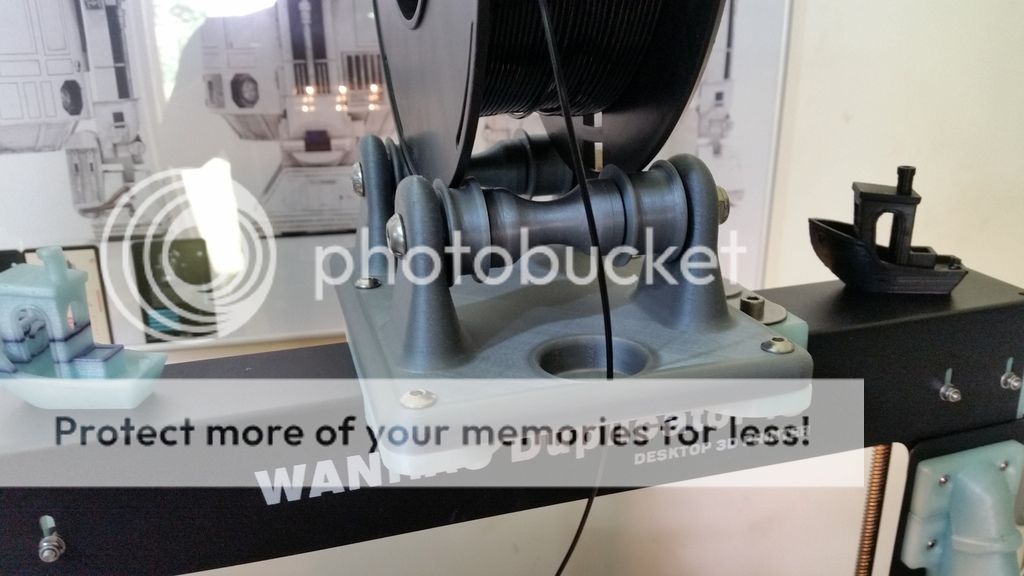
Bearing roller spool holder.
Ikea £6 LED strip light, hacked, mounted with 3 brackets: https://drive.google.com/file/d/0B5B8A65frsBgR00xUE1OSUVPeFE/view?usp=sharing
OctoPrint on a Raspberry Pi with Pi camera, with Plugins for TouchUI, Detailed Progress, Full screen Webcam and Cylon theme. Currently on Pi2 and 1.3 cam, but due to upgrade to Pi3 and 2.0 cam.
Camera mount for Colin's bed: https://drive.google.com/file/d/0B5B8A65frsBgTXFXdnBndG5EY0U/view?usp=sharing
Massive thanks to all that their parts shared on Thingiverse, some really great designs. It seems solid and smooth, a very different machine to the stock offering, and Im able to run it pretty fast without too much impact on the parts. :)
I did all this in stages, realigning and testing as i went, tweaking settings and sometimes going in circles. I also made a few adjustments to the firmware:
Speeds and accelerations: All X to 800, all Y to 700 and Jerk to 7.
PID nozzle temperature control (after setting up Octoprint on the Pi).
I am going to put this into a sever rack cabinet eventually. The Pi will be mounted outside the enclosure. I also plan to do the mosfet upgrade and fit an 80mm fan to the CPU. There are also a few calibration and settings changes i will do while i have the CPU open.
Id also like to have the cam wires in the y drag chain, and connectors for the bed under the carriage for easier maintenance, but that can wait. :)
I've barely scratched the surface of working with this machine or the software (Simplify3D), and already it is out performing my expectations. There is a lot to learn to really get the most from the prints, both in settings and in the design of the parts for the medium, so i know the parts will continue to improve. :) For approx £450 total, I'm amazed. I am tempted to redo all the upgrades as a single set of parts, make them work together a little better, but for now I'm very happy. :)

