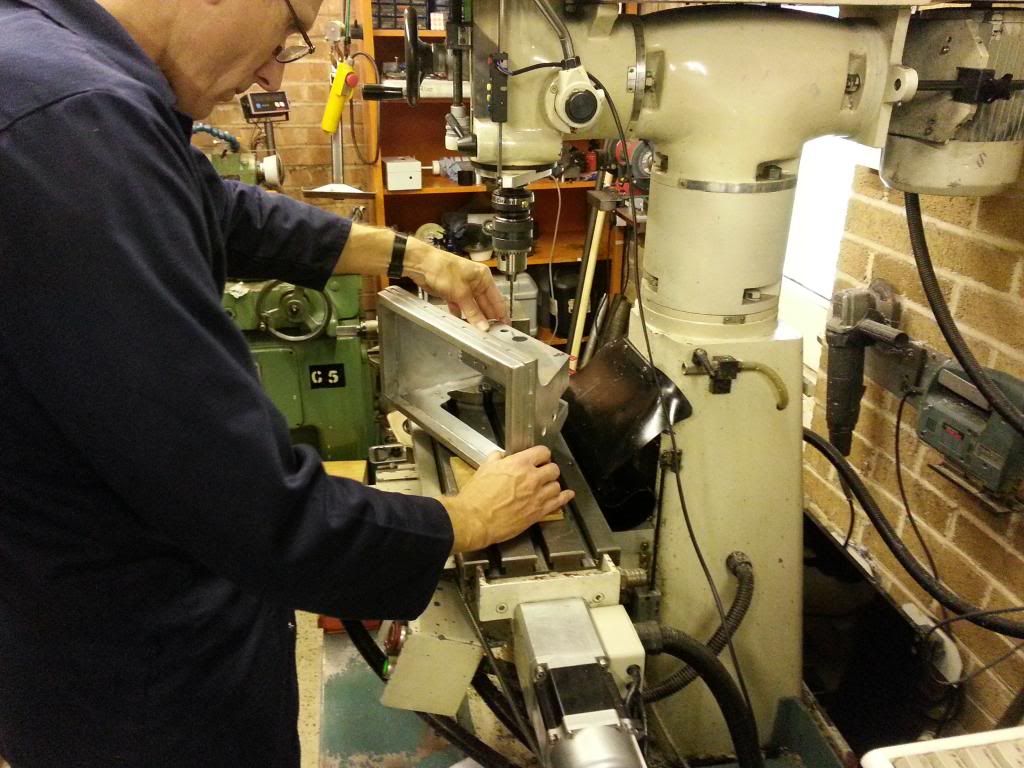
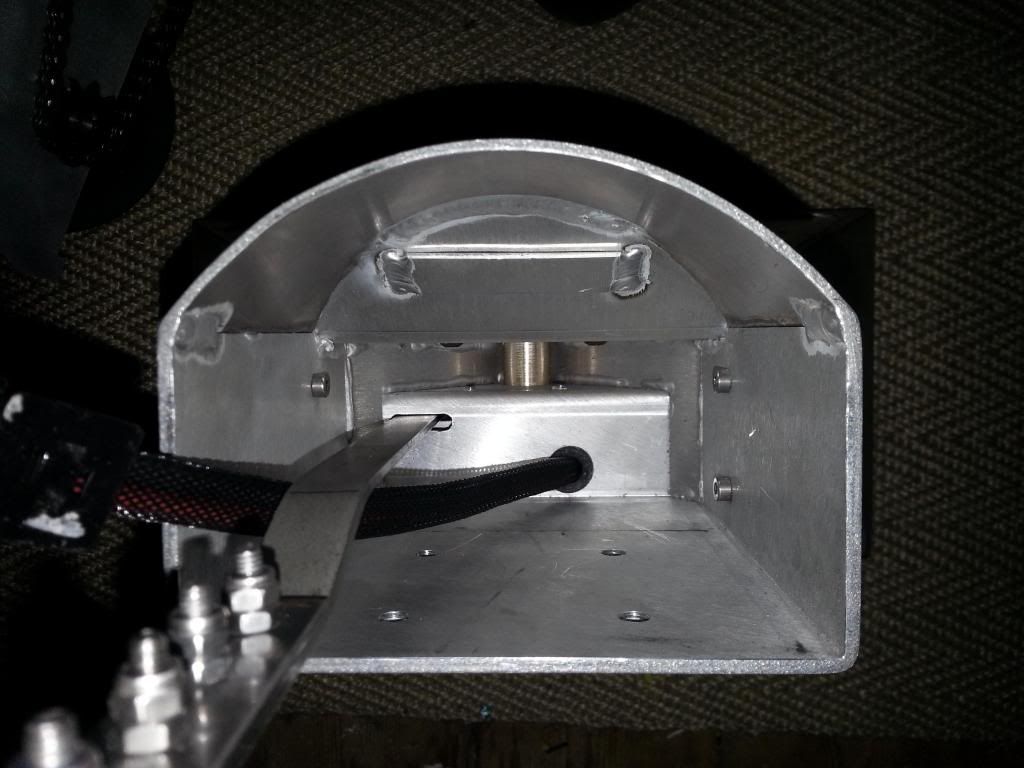
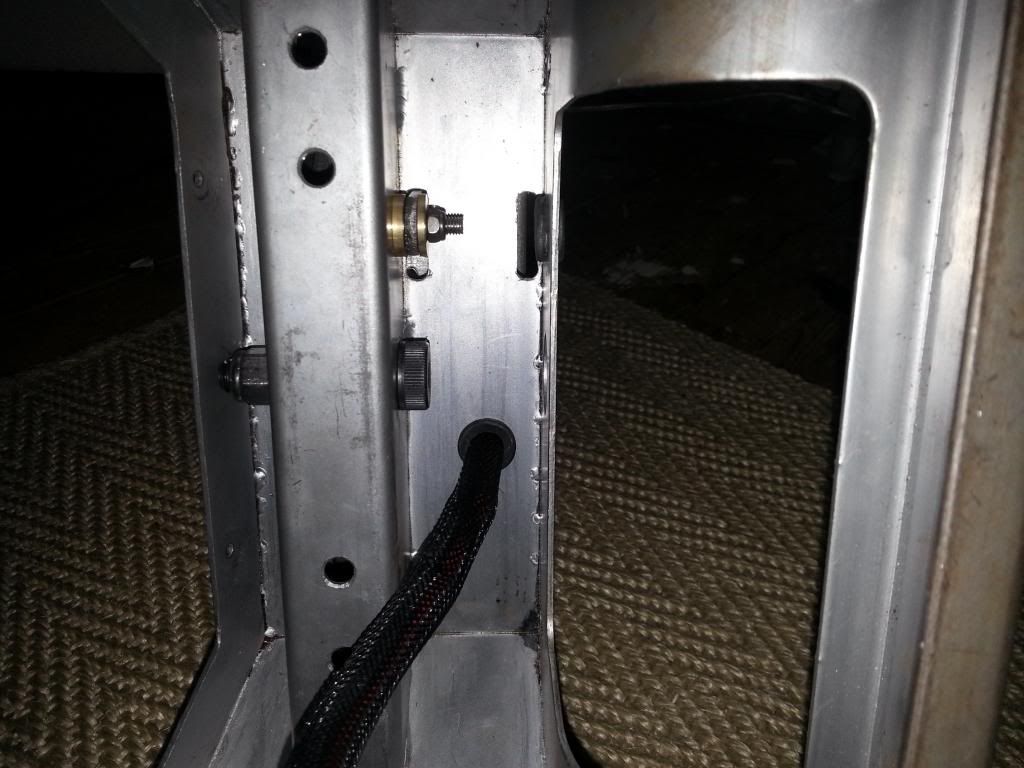
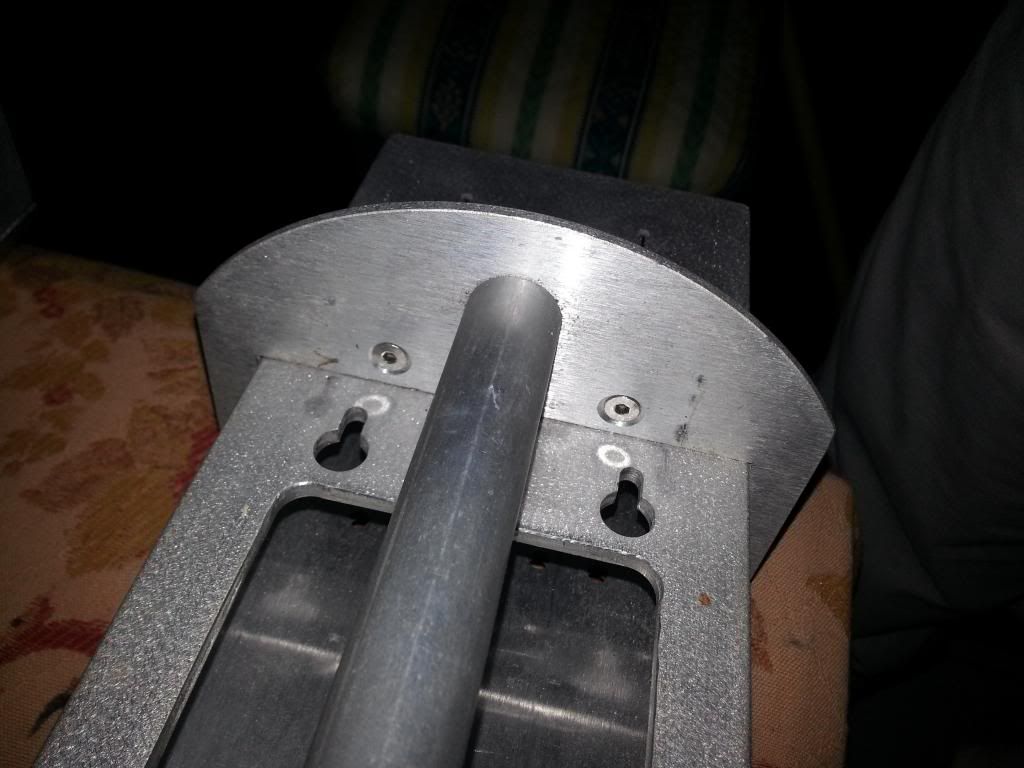
Well its been a while. But i have been working on droids. :D
James Short and i have started on our next droid. We have done the cosmetic droid building before, and we have added gadgets etc. So this time we decided to go back to basics and look at the whole concept of droid building from the ground up.
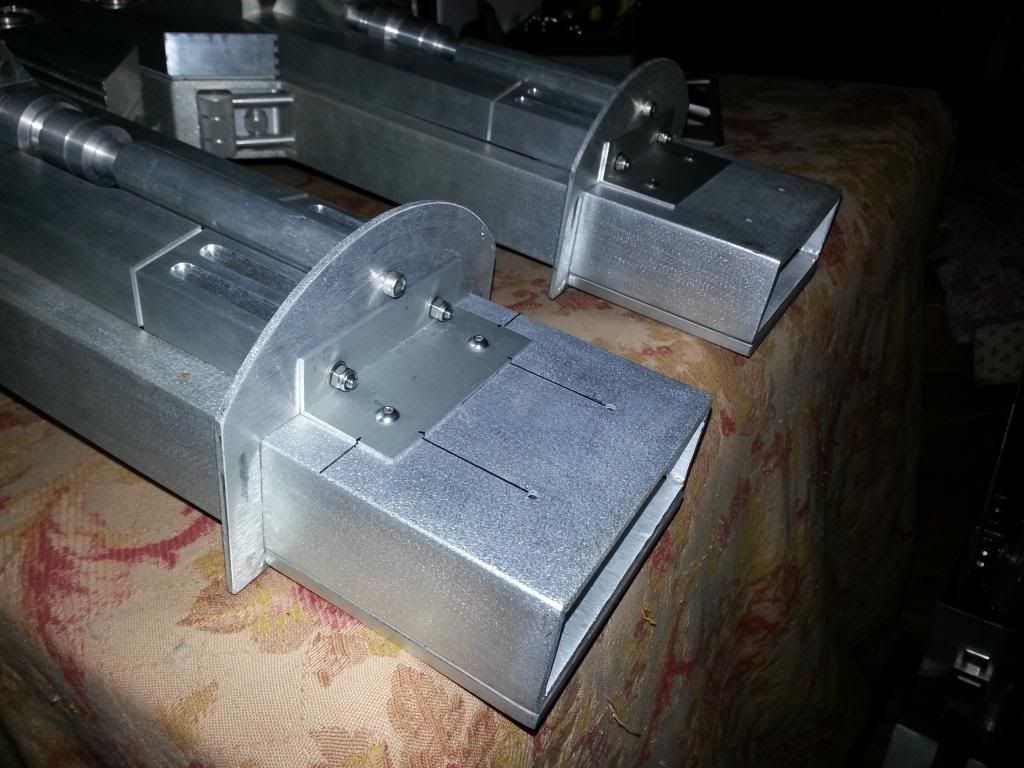
We want a droid suitable for any event. Be it rough tarmac, brick or slab courtyards, grass, sand, gravel even snow. So the first decision was to make it off road capable. To achieve this the droid is going to be light, we are aiming for around 30kg, the centre of gravity will be low with light body and head and heavy feet. This droid should be a first in the group using these ideas and we hope very stable, no matter the surface or terrain. We have already finished the track based feet drives and 3 forms of suspension so far.
Eventually this droid will have up to 3 different swap out feet drive systems. With several options for the centre foot too.
The other thing was that we wanted the ability to display or transport this droid in 2 leg mode. So it has a quick release centre leg and the outer legs can be re-attached in the 2 leg position.
The feet are aluminium, NPCs will be the driving motors and so the feet will be heavy. The body, dome and legs will be composites and so light and durable. We have made a concession to use everything that looks aluminium as aluminium (except the dome), so the weight will not be as light as possible, but the look of the droid is important to us and we want it to be as good a droid as it can possibly be, while still breaking new ground and doing things differently.
The paint scheme will be R2-D2 this time, and we will be lightly weathering him, more to highlight him than to make him look like he just rolled out of the swamp. I am excited to be finally painting a droid.
We have 80% of the bits needed and those parts we have ready are untested but look superb, i cant wait to share pics of real progress.
Working on this droid together means the blogging may be done elsewhere so we can both contribute, i will add a link here to the new blog as soon as we have all the parts needed and can start the build proper.
In the mean time here is an appetizer to keep you going:
Thursday, 5 June 2014
Friday, 10 January 2014
Just needed to post something, its been too long
I have been busy, but not on Pic worthy stuff. But it has been so long since the last update it needed something to prove I'm still here.
I have started on another droid. :) Partly to follow the BHD write up and improve it as I go. This weekend should be the first complete bench run for the new setup. :) This droid will be a collaborative effort and so will be blogged elsewhere. But it is a truly exciting project with some really cool engineering challenges. I will link to the new blog once we get going properly. This droid will hopefully be a more practical droid, we are aiming for under 40Kg total, and it will be a truly unique droid, hopefully its abilities will be a little bit special. That should be rolling by the end of Feb, with improvements to follow after that.
So the write up is getting there, the shields are neater and easier to make now, i have been getting feedback from others too, and it is all looking good.
I am also working with Felix on an Anglo/German BHD pad upgrade. This may be in phases, but should be smaller, lighter and neater at the pad end, and we might have to look at a droid master PCB too. Its looking good so far.
My current R2 isn't getting too much time at the moment, but i have ordered JoyMonkey's new logics, and also have one of Felix's superb 2-3-2 controller boards, this will make the electronics element of the 2-3-2 much smaller and neater, but its a huge job, so may have to wait a while before I fit it. I may wait till the other droid is available for use, at least then I will have one in use and one in the pits. :) I have so many things i want to do to it. I still need to fit the Master Utility arms. :)
I have started on another droid. :) Partly to follow the BHD write up and improve it as I go. This weekend should be the first complete bench run for the new setup. :) This droid will be a collaborative effort and so will be blogged elsewhere. But it is a truly exciting project with some really cool engineering challenges. I will link to the new blog once we get going properly. This droid will hopefully be a more practical droid, we are aiming for under 40Kg total, and it will be a truly unique droid, hopefully its abilities will be a little bit special. That should be rolling by the end of Feb, with improvements to follow after that.
So the write up is getting there, the shields are neater and easier to make now, i have been getting feedback from others too, and it is all looking good.
I am also working with Felix on an Anglo/German BHD pad upgrade. This may be in phases, but should be smaller, lighter and neater at the pad end, and we might have to look at a droid master PCB too. Its looking good so far.
My current R2 isn't getting too much time at the moment, but i have ordered JoyMonkey's new logics, and also have one of Felix's superb 2-3-2 controller boards, this will make the electronics element of the 2-3-2 much smaller and neater, but its a huge job, so may have to wait a while before I fit it. I may wait till the other droid is available for use, at least then I will have one in use and one in the pits. :) I have so many things i want to do to it. I still need to fit the Master Utility arms. :)
Friday, 6 December 2013
BC Member! Me!
Well, i have exciting news. I am on the BC. :D
Really hoping i can contribute. The club has given me so much, i would be honoured to give a little back.
So i suppose this makes me BC approved. :P Hope it can also help the UK club go on to even bigger and better things, i am proud to be part of the UK club and know we can go from strength to strength.
Really hoping i can contribute. The club has given me so much, i would be honoured to give a little back.
So i suppose this makes me BC approved. :P Hope it can also help the UK club go on to even bigger and better things, i am proud to be part of the UK club and know we can go from strength to strength.
Monday, 2 December 2013
BHD 2.0
Easy Dudes.
I have been a busy boy. :) The wiring of the control Arduino shields has been redone. The pad now uses 2 way serial, opening up many more options for the future. Also the I2C now transmits more than the script number, it also transmits the charge level. So one reading taken on the master is passed to all the end units. :)
I redid all the end units and spent a but of time making it work as reliably as before. It took a bit of playing, but its great. :) I have a load more coding to do now to make the most of the extra functionality, but it all works and the wiring is set.
He spent a couple of hours with the Scouts in Harwell on Wednesday, and they all had a go driving, so he was VERY thoroughly tested. There was some serious button bashing going on and he didnt miss a trick. :)
The new Leia and Luke messages are LOADS louder and now work with the R2 sounds really well.
Latest Code and Files
While redoing the code and testing i tried to document the setup. I have a BHD write up now. But i want to run it myself for a few more events and also follow it to wire up a 2nd droid to help improve it. I will be starting that this weekend. :) Maybe try and take a few step by step shots to help simplify a few bits.
I will post it about when finished and fully tested. :)
So the blog is now back on-line and all the Google Drive files have been tidied up. :)
I have been a busy boy. :) The wiring of the control Arduino shields has been redone. The pad now uses 2 way serial, opening up many more options for the future. Also the I2C now transmits more than the script number, it also transmits the charge level. So one reading taken on the master is passed to all the end units. :)
I redid all the end units and spent a but of time making it work as reliably as before. It took a bit of playing, but its great. :) I have a load more coding to do now to make the most of the extra functionality, but it all works and the wiring is set.
He spent a couple of hours with the Scouts in Harwell on Wednesday, and they all had a go driving, so he was VERY thoroughly tested. There was some serious button bashing going on and he didnt miss a trick. :)
The new Leia and Luke messages are LOADS louder and now work with the R2 sounds really well.
Latest Code and Files
While redoing the code and testing i tried to document the setup. I have a BHD write up now. But i want to run it myself for a few more events and also follow it to wire up a 2nd droid to help improve it. I will be starting that this weekend. :) Maybe try and take a few step by step shots to help simplify a few bits.
I will post it about when finished and fully tested. :)
So the blog is now back on-line and all the Google Drive files have been tidied up. :)
Monday, 7 October 2013
BHD Logo
Was messing about last week, and decided if writing it all up, the BHD needed a logo, or something recognizable to go on paperwork, PCBs and maybe even stickers/paches. :)
Here it is:
Here it is:
Didnt think about the intel inside thing. :D
2-3-2, Dome Servos and Arduino Workshop
Building has been fun recently.
Decided to delay the magic panel and DBC installs, I want to look at the
base of my code first. Reduce a few signal lines and replace them
with 2 way comms.
But I added the 2 relays to the dome, these control the power to
the servos. One for the 3 HP servos and
one for the rest of the doors. They both
prevent any servo twitch as the main power is connected, so connection order is
no longer an issue for the dome. They
also power off the door servos 2s after they are all closed. This allows the doors to be pulled open when on, stops any servo buzz
and saves power. Really good, highly recommended. These will be included in the BHD write-up. Will also be adding these to the body servos,
and maybe the dome motor for completeness.
I then moved back to the 2-3-2, James had offered to ask Roger to
look at the ankles and leg rod fixings in the feet, so I took him up on the
offer, hoping to get this finished once and for all. The play in those areas was causing a lot of
wobble in the 2-3-2. So almost a full
day of stripping the legs on the Saturday, then I set off to Roger’s last
Sunday. We remade the JAG push-in
inserts for the ankles for a tight fit on the shoulder bolts, and made them a
little longer too. Then we redid the leg
rod fixings in the feet, these now cannot move, and the rod more easily rotates
on the brass bush and so it looked like it should solve the issues.
I also wanted to show you my ankle bracelet brackets. :)
So then came 3 evenings of re-assembly! So much work to get it all back
together. James came over Thursday
evening to help as catcher. So tested it, it looked amazing, so much more
solid and reliable. But all the
positions were wrong. So I uploaded the
tweaked code…..then nothing. Dead. I spent about 5 hours debugging, thinking initially that I had knocked
out a wire and then that I had shorted the Xbee. Nope, I had accidentally deleted the line
Serial.begin(9600); not clever,
obviously the serial wont work without that! So once id found that I recalibrated all the
positions, re did the 2-3-2 code so that the signal to drive the feet stops
when the first actuator stops and not both (looks much better). It is so nice now. Really smooth and stable. There is one little detail of the bolts that attach the legs now taking
all the force so they undo themselves, but an easy fix with the right washers.
So here is my 2-3-2 as it should be, stable, balanced and
reliable. No face-plants, no wobbles,
just 2 legs to 3 legs and back. Maybe 60 cycles + now, and still running
perfectly. Long may it last. But if you are doing 2-3-2, it is a
nightmare, does require lots of work, it is different on a dressed droid, and
just because it does it once, doesn't mean it will do it all year long. Don’t give up, just keep finding more ways that don’t work till you find
one that does. My whole frame now needs a rebuild to allow more space for the CPU arm and claw, they fit, but not their mechs. :)
Anyone who says they have 2-3-2, unless you have done 100 cycles without issue, you haven't even started. :)
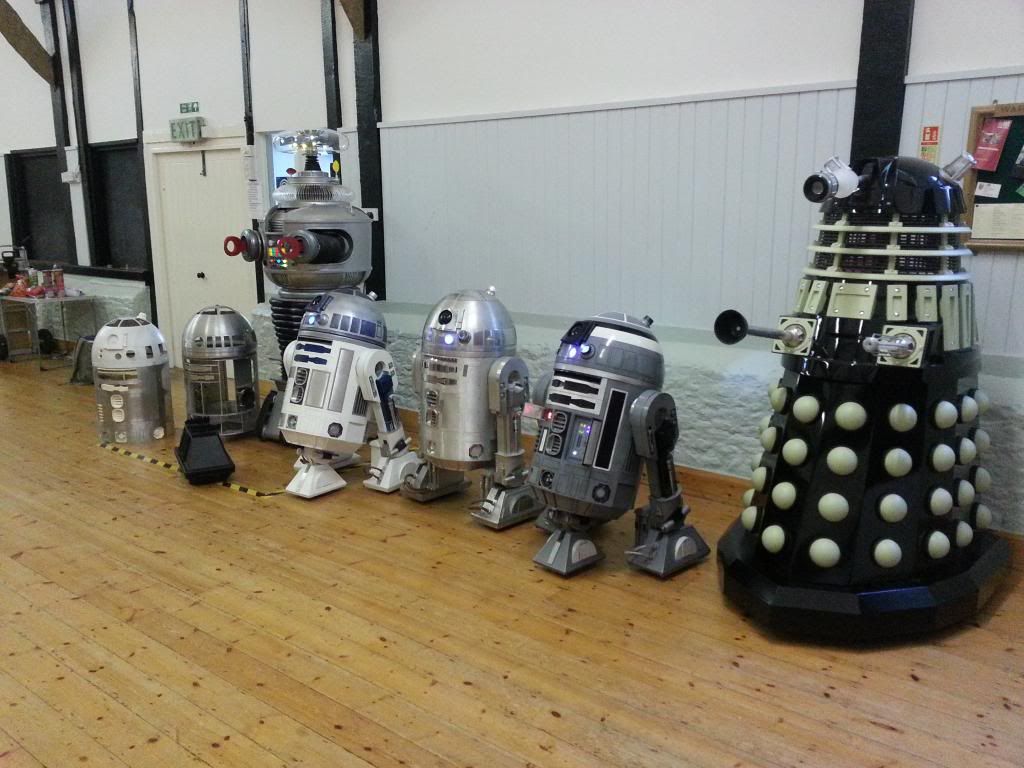
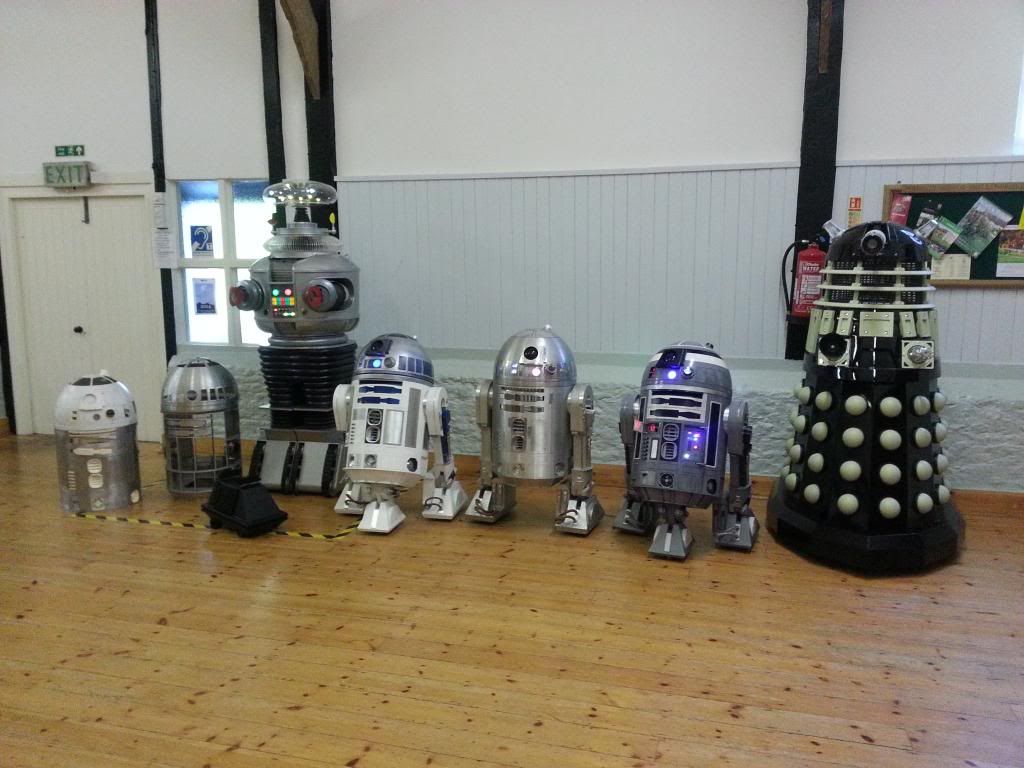
This Sunday we had another Builders day at my local hall. We had a really nice Dalek, a beautiful B9, 3
complete droids and 2 part droids, oh and a really nice mouse droid. There are a lot of talented folk in the UK.
The day included (or was taken over by) an Arduino workshop. I wanted to get a few people working with
arduinos and felt that the initial phase was the tough one, so doing an intro
and making something fun would be a good start and maybe help others to pick up
Arduino and run with it. It went really
well, they seemed to enjoy it, and were showing each other how to solve stuff
by the end, which is usually a good sign.
I had planned to do a load of testing in an open space, but didn’t
get chance. Next time.
I finally got the Relays for the feet, only a 5 week
delivery! Will be adding those ASAP.
Monday, 16 September 2013
Magic Panel Part 1
My Magic Panel arrived. It is a pretty thing. :)
So i soldered up the pins (or James did), and powered it up. Nothing, so read the guide. It defaults to flash every 8-12 mins. So i added the jumper to test the other options. It seemed like it had loads of potential, but some of the default scrolls and patterns seemed jumpy. So i started over. :D
The grid layout of LEDs is complex. The rows of 8 LEDs are actually the first 2 rows of the 1st chip and not in the same positions. e.g. Row 0 B11110000 and Row 1 B00001111 will turn on all the LEDs in the top row. So this was going to be fun.
I used a 2 dimensional boolean array (8x8) as what i wanted to see and mapped that to the actual LED layout. So i simply change the boolean array to say what should be on/off and then map and print that to the LEDs via the chips. It works beautifully. I can set rows and columns and work with it very easily now.
So once i got that setup i decided to do the pattern i had my heart set on. Random in and out so it is almost like a fade. I really like this one, it took a few goes to get it looking right, and being random it doesn't always look perfect, but im happy with it now.
Then i looked at shapes, i applied the Logo on the back of the PCB as one option, but when difused the image isnt easily seen, but it isnt horrible. :)
Here are a couple of videos of what it can currently do:
So i soldered up the pins (or James did), and powered it up. Nothing, so read the guide. It defaults to flash every 8-12 mins. So i added the jumper to test the other options. It seemed like it had loads of potential, but some of the default scrolls and patterns seemed jumpy. So i started over. :D
The grid layout of LEDs is complex. The rows of 8 LEDs are actually the first 2 rows of the 1st chip and not in the same positions. e.g. Row 0 B11110000 and Row 1 B00001111 will turn on all the LEDs in the top row. So this was going to be fun.
I used a 2 dimensional boolean array (8x8) as what i wanted to see and mapped that to the actual LED layout. So i simply change the boolean array to say what should be on/off and then map and print that to the LEDs via the chips. It works beautifully. I can set rows and columns and work with it very easily now.
So once i got that setup i decided to do the pattern i had my heart set on. Random in and out so it is almost like a fade. I really like this one, it took a few goes to get it looking right, and being random it doesn't always look perfect, but im happy with it now.
Then i looked at shapes, i applied the Logo on the back of the PCB as one option, but when difused the image isnt easily seen, but it isnt horrible. :)
Here are a couple of videos of what it can currently do:
So it is now ready for me to decide on when it should be used and add in the triggering, i have started working on the spreadsheet, and hope to have the I2C stuff added this week. Then i need to cut the hole in the dome and im good to go. :)
Subscribe to:
Posts (Atom)