
But finally finished the utility arms setup tonight. I had a few factors limiting me here, I had an A&A arm carrier that covered the sides of the arms, and my dome motor is mounted just behind the arms. So I had started by adding arms to the back of the utility arms and went from there:
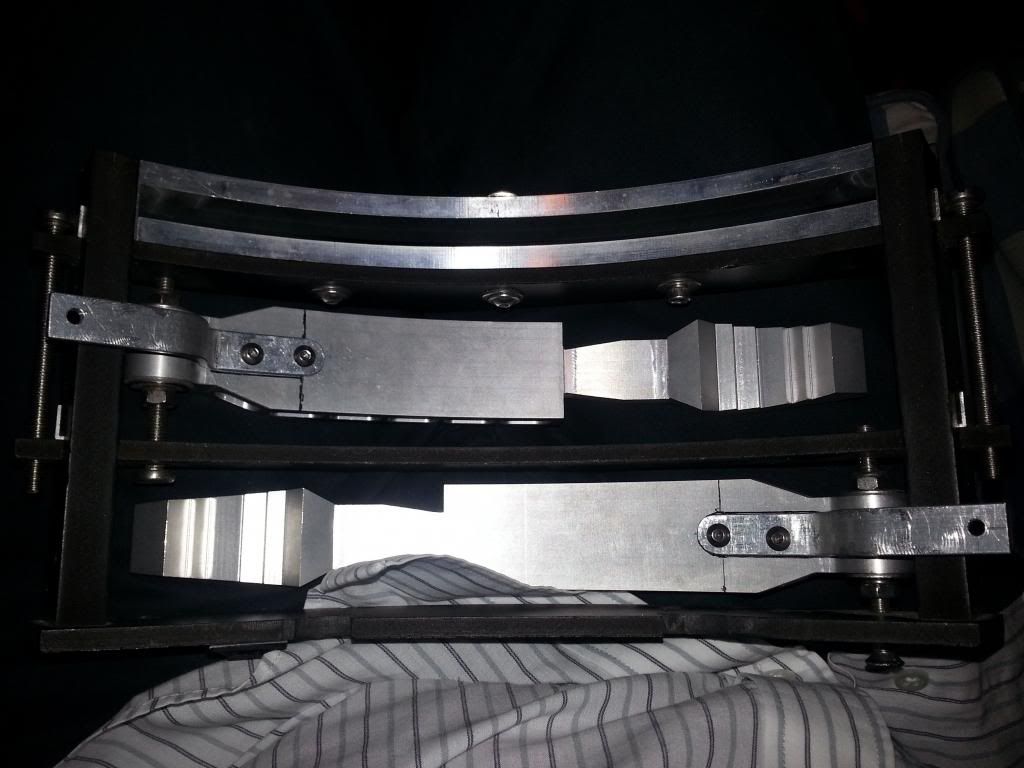
I got some 15KG standard size servos and added a longer arm one, then using a threaded servo rod and a cleat i connected it to the arm. The first draft of the mech looked ok, but in the full open position could be opened too far and would then not close. Also the servo mount had too much play.
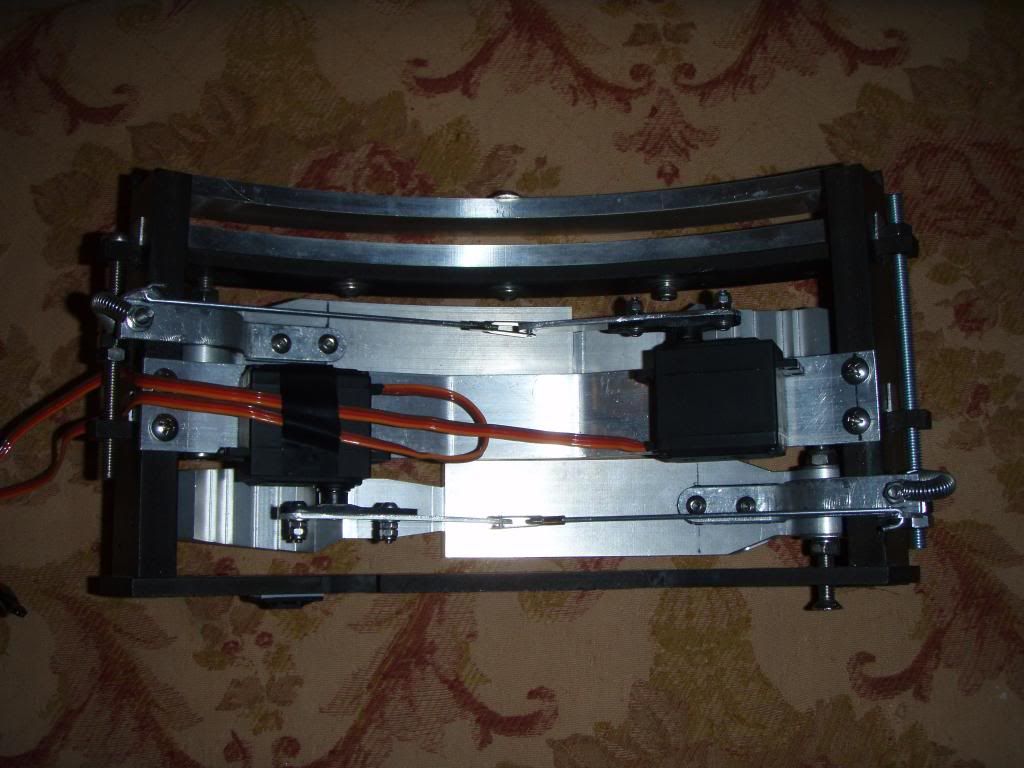
So I added an alu flat bar bent to shape across the carrier to mount the servos to, it also really helped reinforce it all. I just added the servos using strong 3M thick double sided tape, they seem really strong, but I can add brackets later if needed. Then I had a mess about with a few springs, and after trying a few spots and sizes I found the magic combo and it now works like a charm. The servos take quite a bit more current when open thanks to the springs, so it wont run from the Arduino directly and i cant find my crimps to hook up my 50W 5v converter, so will have to wait to test the two together. But the servo is fine with the spring, it just resets the Arduino. :) I then shaped and tidied all the bits, did the other arm too and replaced the hardware on one side of the carrier to make a spring mount for the lower arm, and job done. :)
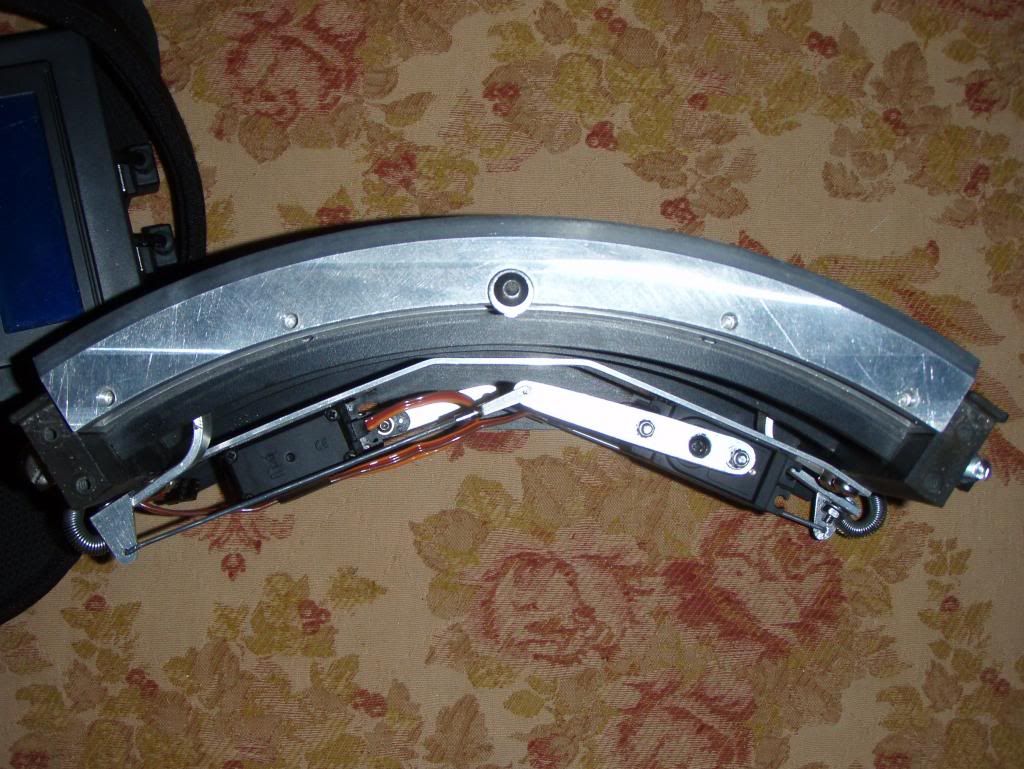

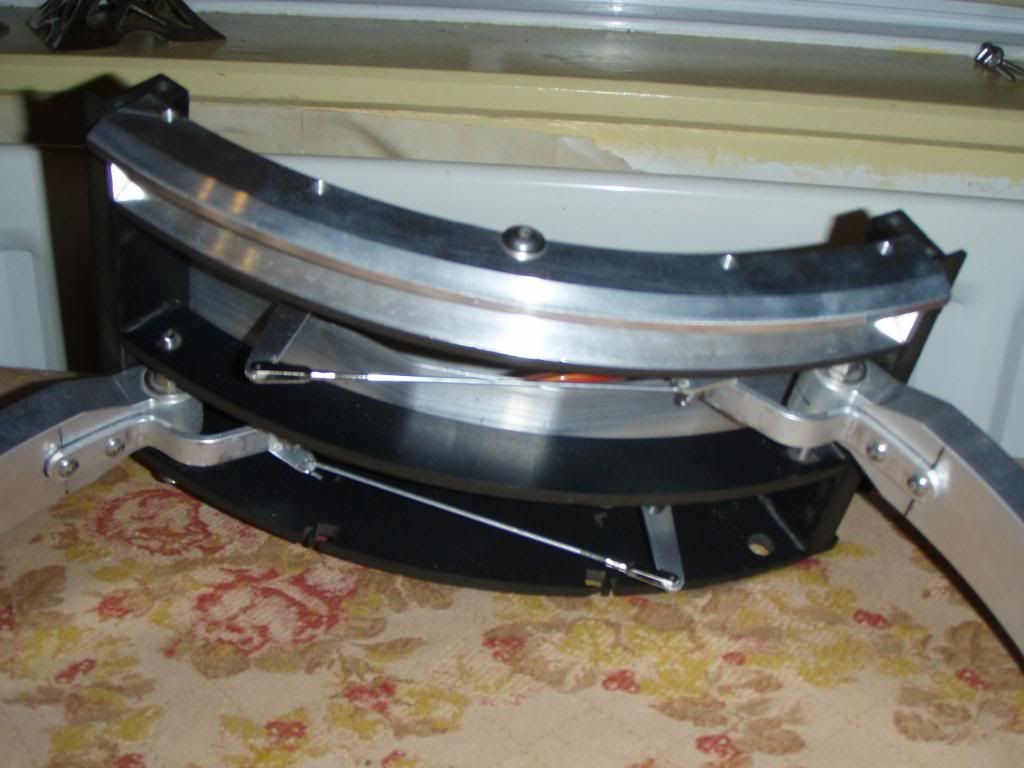
The servo arms do stick out a little when open, but I quite like that. It fits in front of the dome motor really nicely. :) Will post a video when I can find those crimps.
Body pans and door servos and I'm ready to do the skins. After polishing the right bits. :) And maybe CBI first too. :)
No comments:
Post a Comment