
Over the last week I have been polishing up one of the utility arms. Its finally done, after about 5 hours of sanding and polishing, lots of slight machine marks to sand out took ages.
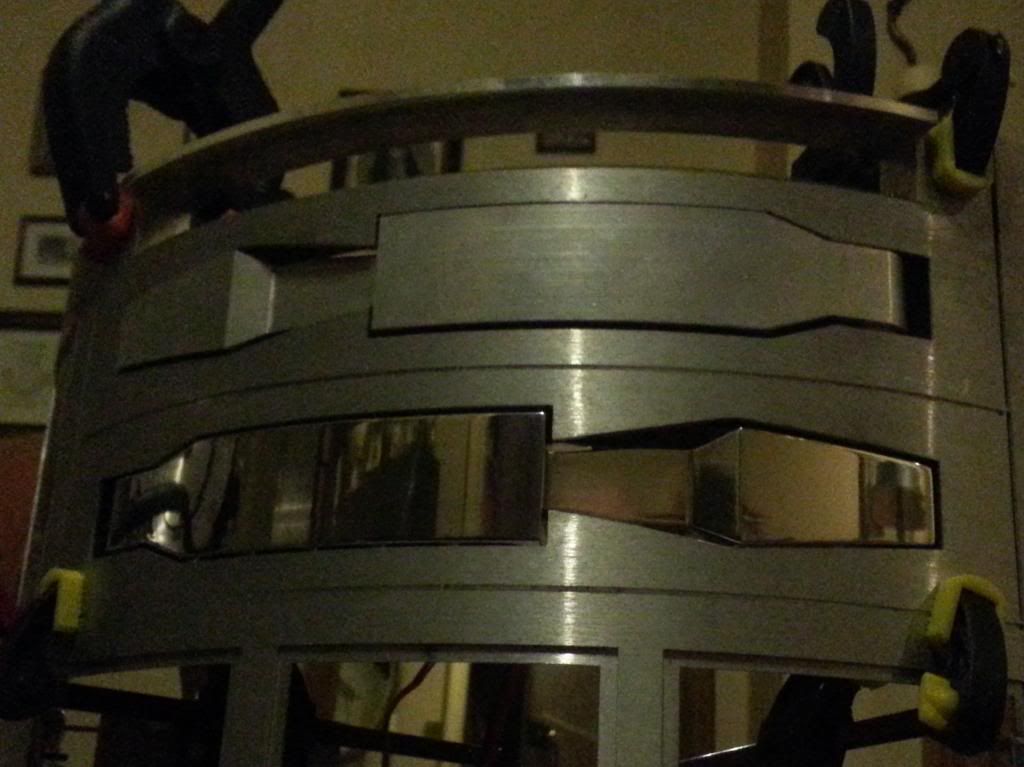
I still have the top one, The LDP and the centre vent surround to go, but just couldn't face any more sanding. So I pressed on with the body set-up.
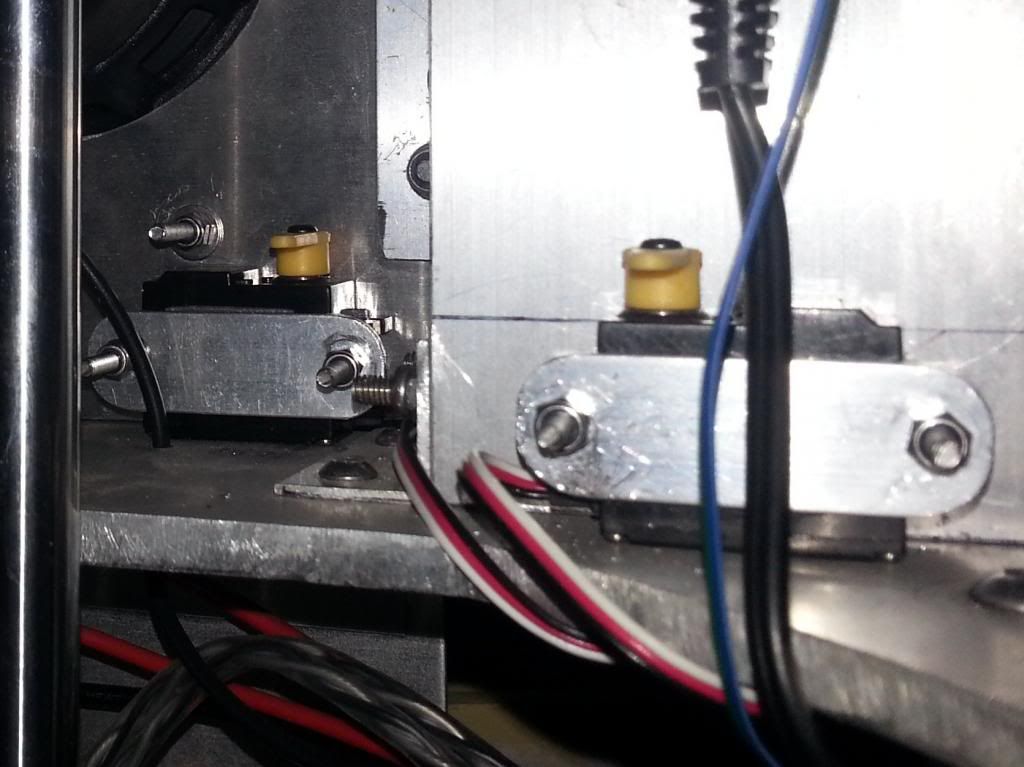
I mounted the 5 door servos using 15x2mm flat bar as a bracket, with 2 M3 screws and nylocks. Even did the 2 outer ones without having to strip the whole frame. :) Then i wired them all up to the shield extending where needed.
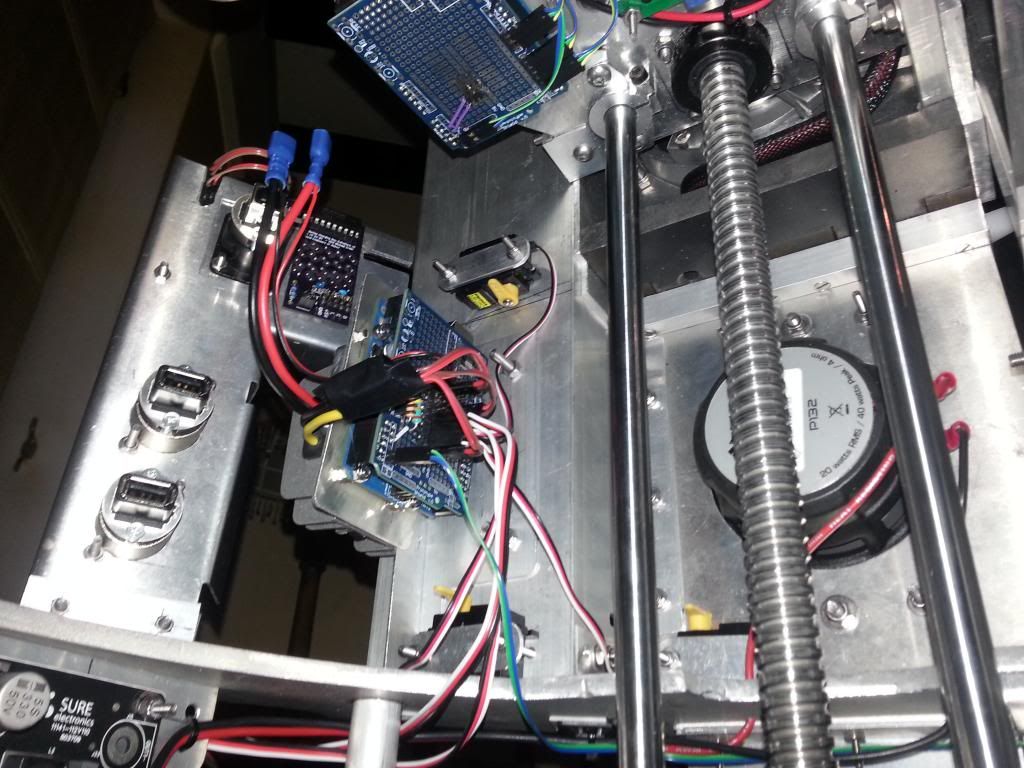
Then I remounted and rewired the MP3 Arduino and started work on the volume knob. It was a painted alu, so I got out my polishing stuff and buffed it up. Looks much better. The LEDs should work too, just off board replacements. :) I may end up flipping the volume PCB, but that means trimming the bracket, so maybe later. :)


I have decided to add a button to switch off the power from the body's 5v supply, this will go in the same door. I will still need to turn the battery on from the button on the pack, but off would be easier with a button than unplugging the battery. So USB to in and out of battery, and one to the slip ring for the dome battery charge, then the other body battery USB will go to the button then on to the 3 Arduino it has 2.1A output, so fingers crossed it can cope.
So wait for the button, do the 5v power set-up reinstall the 2-3-2 set-up and I'm ready to work on the skins. Then once those are done servo rods and a feck load of testing and coding to get everything back on-line and working reliably and i will be almost ready for the NEC. :)
A very productive weekend mate! Nice work :)
ReplyDelete